Showcase: Shopping Bag cake and Bride and Groom royal iced Cookies


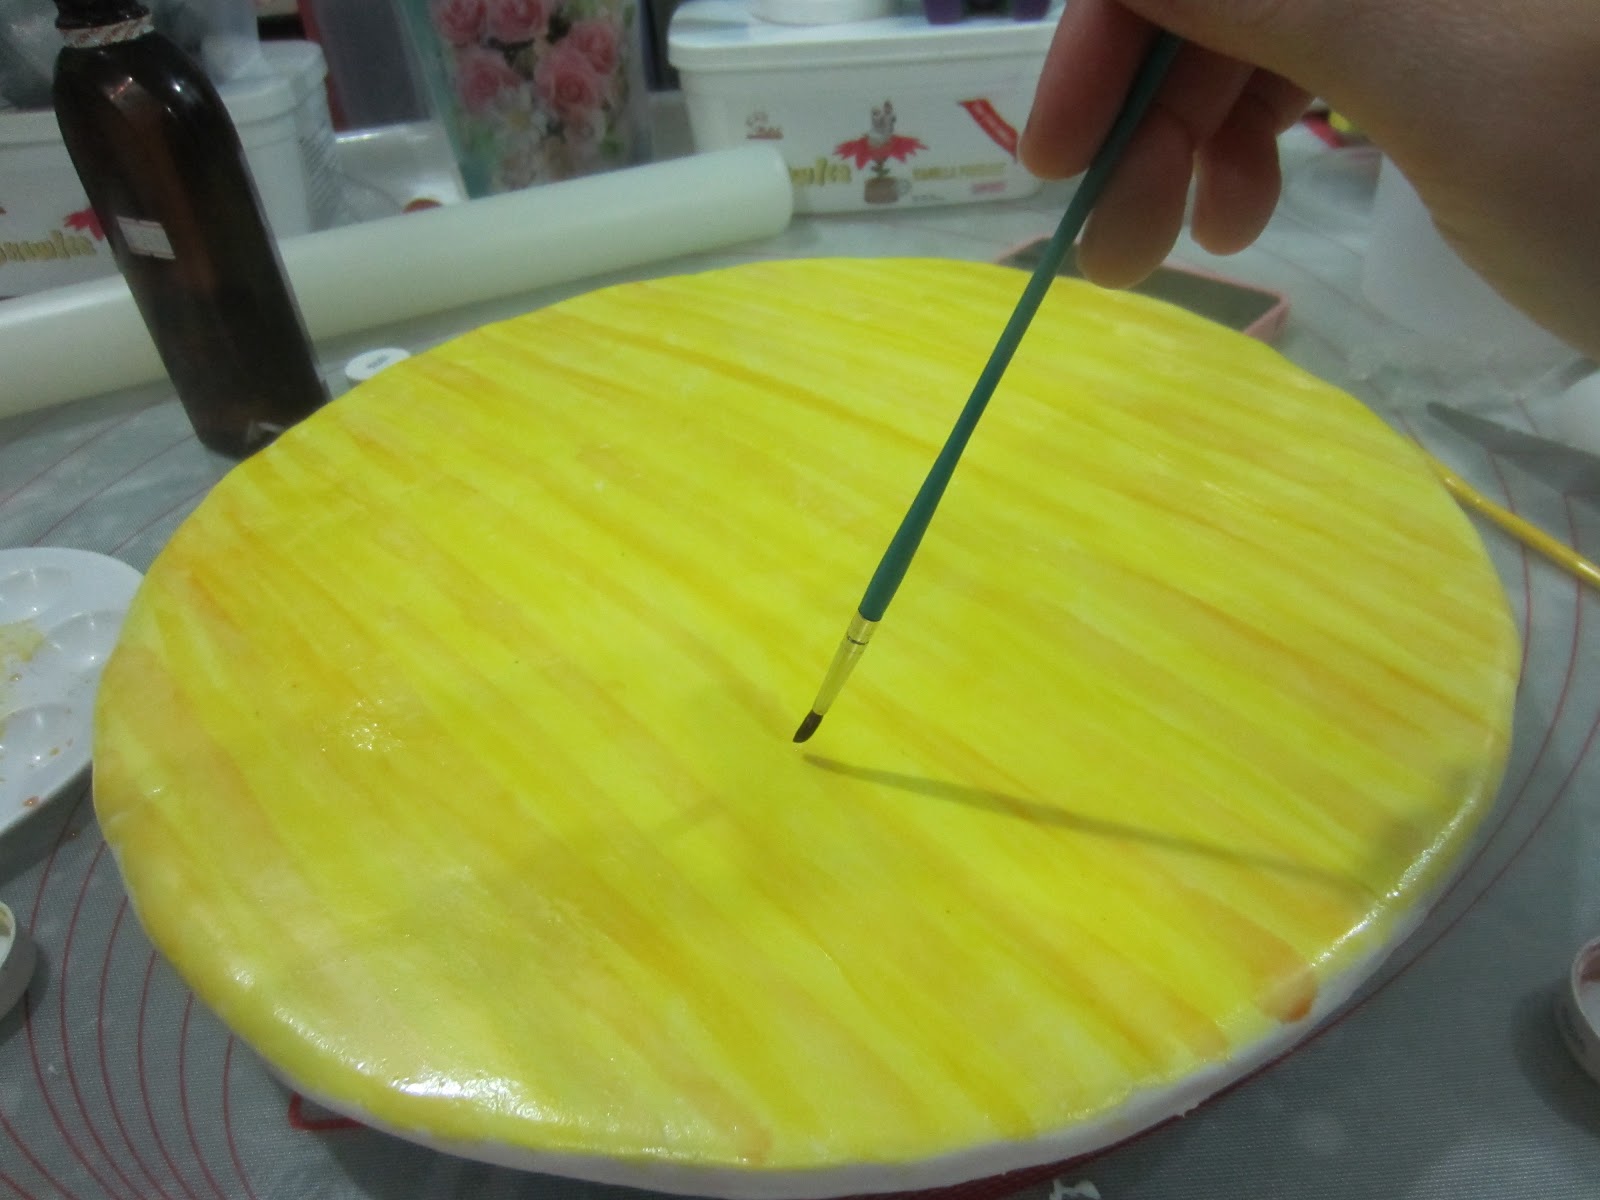
Custom made cakes are getting more and more popular with young couples getting engaged nowadays. In this post, I made a shopping bag cake like the one belonging to Tiffany & Co, complete with stuffed tissues and ring box and bride and groom butter cookies. The only difference is that the name on the bag was changed to the future bride's name so that was cute :) Since the order was a changed to an earlier date, I had to rush to stick on the side panels which was supposed to have one more night to dry to a stiff flat panel so I ended up having a less than smooth surface. That irked me a little bit because I always like to get my designs perfect. Client loved it in the end though! Oh well..things like this can't be avoided and that is one of the challenges of having the custom made cake made on time. We all just have to remind ourselves that it's just cake in the end! (but to me, it's NEVER just cake ;)

What I'd really like to feature in this post are the royal iced butter cookies. My client suggested it and I thought it was a really cute idea. Well first off I made butter cookie dough and rolled it flat after letting it set in the fridge for an hour. Then I took the dress cutter and cut out the shapes ready for baking. After that, I made pure white royal icing and thinned it to a runny consistency, piped the border around the edges and covered the cookie with it once baked and cooled.

After letting it dry for a bit, I iced on the details.
Even down to the Tiffany blue bow..
I did the same with the groom cutters except I iced them with black icing.
This is the view of the cake from the top. You must be wondering how I did the tissues. Well I basically cut out little thin squares of fondant, crumpled them up and let it dry for a bit before arranging them on top of the cake.
So there you have it, a refreshing idea for an engagement cake!! I wish the ring was real though!

Showcase :Pretty Pastel Tiered Birthday Cake


Hi all! In this post I will be featuring a custom made pastel tiered cake. Yes this was made according to a client's cute sketch (pic shown below). I just wanted to give y'all an idea that your visions can come alive too so don't hesitate to submit your designs if that is what you'd like me to do. :)) Always remember that it is better to confirm an order at least a few weeks before to avoid disappointment. Thanks all!

The Making: 21st birthday Key Cake


Yeeppeedeedoodah! Today I will be writing about a key cake.Simple but meaningful. In the olden days it used to mean that at 21 you are old enough to hold the key to your parents' house. Although the legal age of adulthood nowadays is 18, the older tradition is still practised today. What a better way to celebrate it than to give it in the form of a cake right?
Figurines oh figurines..like I said in my earlier posts..not my strongest skill but I will continue to improve myself. Like everything in life, it takes practice. Spaghetti sticks..yeah you need em' for figurines. Just like skeletons, they act as a supportive system for your little sugar people.
Facial features, shoes and down to the tiny white buttons were done.
The hair strands were glued on to the head one by one and then the magical number 21 unto the shirt :)
How did I do the cake? Nope there was no special key shaped pan for this one. I had to bake two separate cakes, a round one and a square one at 2 inches high. I then carved the square cake like so and laid both cakes side by side to resemble a key and then crumb coated it with buttercream.
Originally, the client wanted to order a 3D car resembling a red Toyota Vios but like I said 3D cakes can be quite pricey so they decided to order the key cake instead. Later on, I decided to incorporate the Toyota logo unto the keyhead. I hope they noticed that hehe
The attention to detail like painting silver on the tiny buttons, is what makes custom made cakes a work of passion.

Even down to the tiny key that the guy figurine holds..

You can't see it in this pic but I airbrushed some pearl sheen and got some star fondant cut outs stuck on some wire ready to be presented unto the cake. My conclusion for this cake is that, you don't have to make a fancy, super expensive custom made cake to make it special (though there's nothing wrong with that!). Sometimes a simple meaningful one is worth more than the price itself...:))

The Making: Aeroplane on top of the World cake

This was one of the more complicated cakes that I've done. It looks simple but a lot of planning and brain squeezing went into decorating this cake. At first I thought," Can I do this??" I never refuse a challenge so I went ahead with it hoping for the best. Yeah you could say I'm crazy. LOL!
Well first I had to make the body of the plane. I had to make it waaaaay in advance in order for it to stiffen and dry well enough to support the wings. I stuck in a wooden rod in the middle of the plane to maintain it's shape.
Once dry, I put the wings on top. The wings were made of plastic corrugated material covered with fondant. If it was made entirely with fondant, the wings would have ended up being too heavy to be put on top of the body of the plane. Same goes for the tail. I didn't want to have droopy looking wings in the end. The wings were held up with a lot of gumpaste glue and royal icing.

After drying completely for a few days, I painted on the details. The name painted on here is of the lucky birthday cake recipient. Colours were all custom ordered by the the client.
Next up, the world! Okay I could have made a round ball like a globe shape but yeah that would have been a 3 D cake and would have ended up costing more for the client because of the carving work. This shape would have been better for the plane as I needed to keep the plane flat and steady on the cake.
I then attached some clouds, the birthday message and was done!

Top view of the cake. It really does look like the aeroplane is flying right? Proud of this one because I didn't think I could actually construct a plane. But I did it! Top that boys!! 

The Making: Barney and Friends Cake


Okay I must admit something here. I totally suck at making figurines. If you have seen the awesome figurine work that my sifu has done, you'll look at mine and go "HAHAHAHAHAHAHAH!" I mean really.
Anyway, here it goes. Please hold your laughter until after I finish this post. Thanks ;P
So first you gonna prepare your colours. In the case of Barney and friends, purple, yellow and green.
Okay shaping the dinosaur's head was tricky. It's hard to describe but basically just make a round shape and make the top part of the head narrower than the bottom.
I really took a long time to get the head just right.
So here are the 3 friends before the facial details....

and after!
..and then with the extremities attached..I should have put more CMC in my yellow dinosaur because the fondant started to droop and he ended up being a fatso. :(
I wanted an art deco look to the whole cake so I painted on some whimsical colours unto the board and let it dry.

Finally I arranged the heavy figurines on top of the cake.
I then stuck on the birthday boy's name at the front side.
Added little details like a car and a cap..
..balloons, baseball bat and baseball..
A T-shirt and a shoe...all boyish themes :)

Finally, I stuck some wire on some colourful cut outs of balloons of fondant and poked it into the cake for that party feel :) And yes..yes.. yellow dino looks even more tubbier in the end..it was so heavy it nearly fell off the cake. Perhaps I should have made the figurines a teeny bit smaller..oh well I learn more with each cake..Birthday boy loved them though! Okayyyyy..you can stop laughing at my dino now..Till the next post folks!

The Making: Basketball Cake


I seem to be getting a lot of requests for ball cakes somehow and this post will be about a basketball!
First of all, I created the base board for this cake. I needed to replicate the floor of a basketball court so I decided to paint on the colours. First, I painted a yellow base and added strokes of light brown lines on top of it.
This is how it looked like once done and I let it dry overnight.
While waiting, I needed to create the 'SPALDING' logo using dark chocolate fondant using the pin prick method.
This is the result of the tedious process :) After cutting it out carefully, I let it dry for a bit.
Next I painted on the NBA logo.
The cake flavour was butter walnut. I used the Wilton soccer pan to created the ball and had to bake an extra round cake to create a perfectly round basketball. A lot of carving work was done and took the longest to complete.
Once crumb coated, I covered it with orange coloured fondant.
Perfectly covered, I began decorating by making indentation marks on the surface of the ball.
I then painted black food colouring along the indentation lines.
Finally I stuck on the logos.
Side view

Basketball cake done worthy of NBA!! Thanks all for reading!