Showing posts with label Lesson 2. Show all posts

Wilton Cake Decorating Course 3 : Gum Paste and Fondant Class 1 and 2

 Hello everyone, I'm back for Course Three in the Wilton Cake Decorating series at the International Centre of Cake Artistry. This time classes are more intensive as we did Class 1 and Class 2 in one day so it took four hours to complete. Next week we are doing the same too for Class 3 and Class 4 but that will be in my next blog. This is what I received in the new syllabus !
 This board basically explained all that we did on that day..pretty intensive but nothing too stressful.
 I totally love the silpat mat on which I rolled my fondant on..a bit pricey but sooo worth it...wonder why I didn't get it earlier?
 So these were my rose bases and mum bases..all ready for the next classes.
 This is the base for the carnation
 The finished carnation!
At the end of the class this is what I managed to finish..the calla lily, rose, carnation that were all made from gumpaste and the bow which was 50% fondant and 50% gumpaste. Unfortunately my bow kinda broke after I got home so I probably need to cut and assemble it again :P Well that was basically what we did for this session, class 3 and graduation will be on the next blog..kinda sad that the classes are gonna end soon but it's okay. Now time to plan my final graduation cake! Till then folks!

Wilton Cake Decorating Course 2 : Lesson One and Two

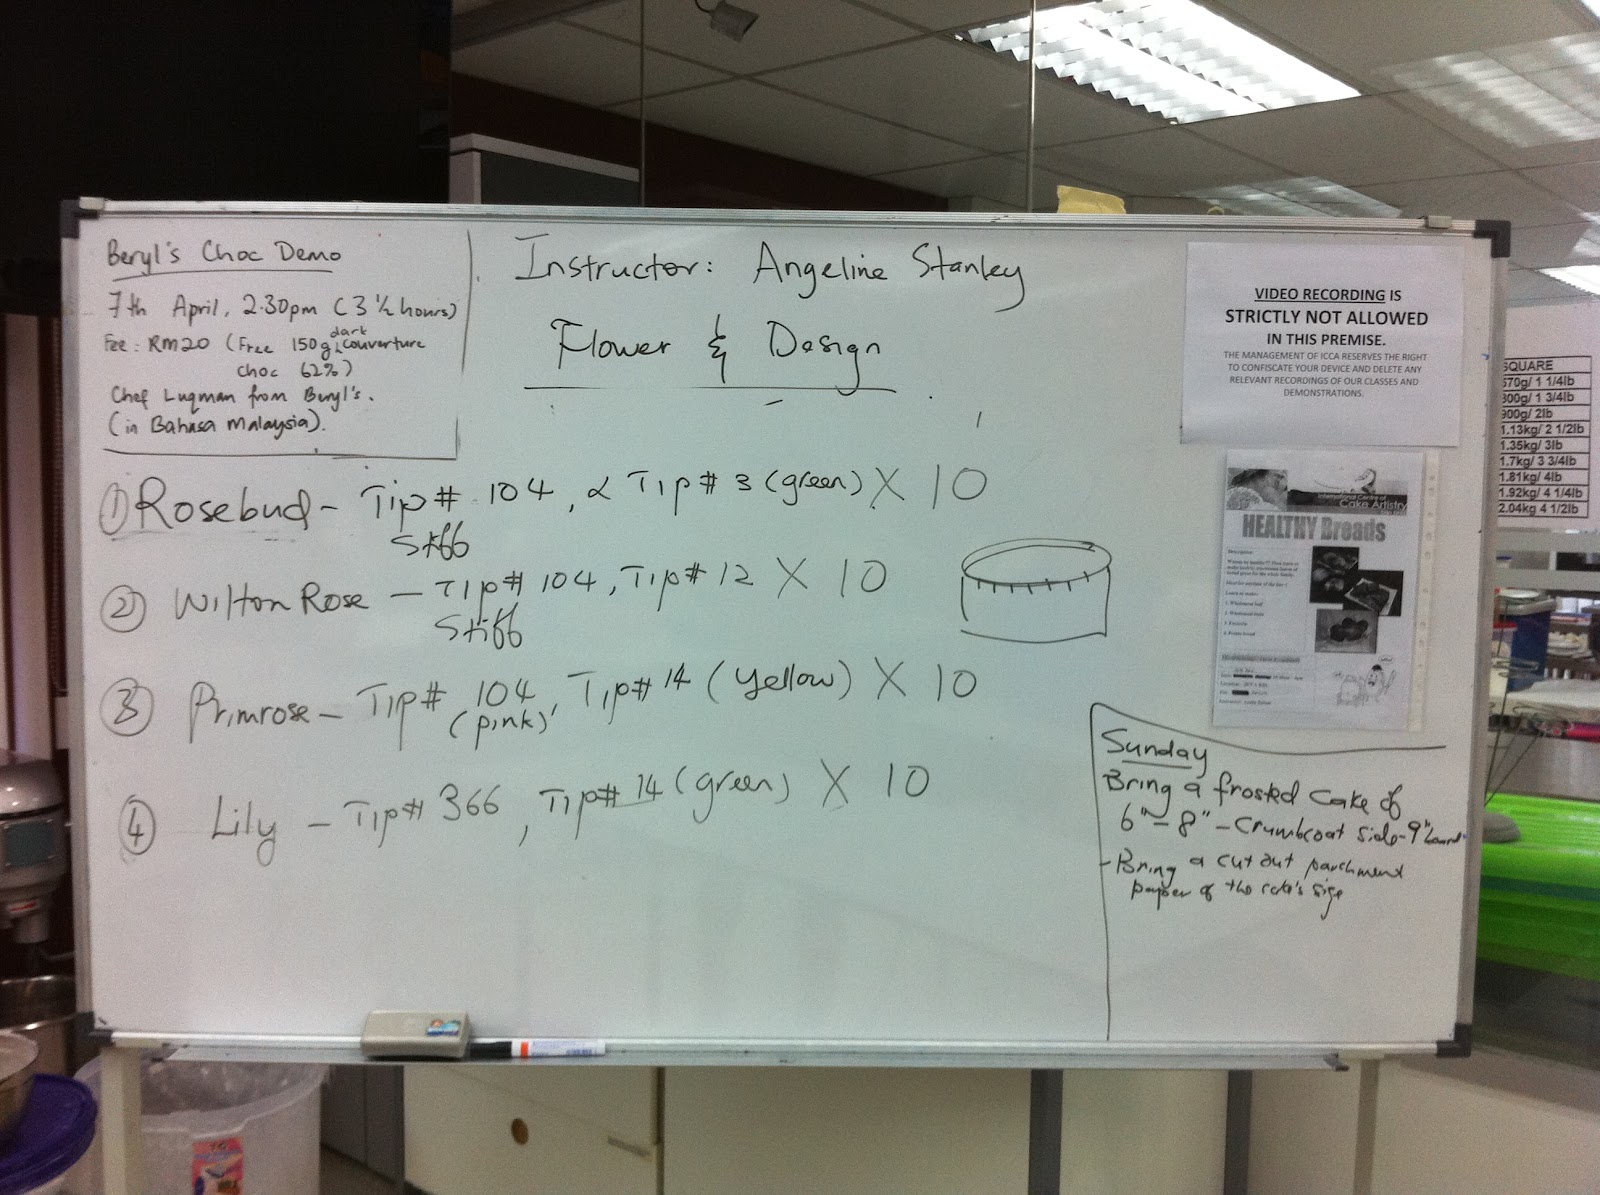
Wey-hey-hey!! After a week off from decorating, I was back for course 2 of the Wilton Cake Decorating syllabus at ICCA. This time classes were still 2 hours long but instead of just every Saturday, it was Saturday and Sunday mornings. There are four lessons altogether but for this post I shall combine lesson one and two.


Yeap, Course Two is Flowers and Cake Design. Here is an overview of the course according to the brochure :)

Your Wilton Method Instructor will teach you to create breathtaking icing flowers such as pansies, lilies and the famous Wilton Rose. Then, you’ll discover the secrets of arranging them in a beautifully balanced cake-top bouquet.
Your amazing flowers will be framed by an impressive boarder treatment or basketweave design. With the skills you learn here and your ability to make flowers in advance using gum paste and fondant or royal icing, you can create beautiful blooms at your convenience, ready to place on any cake.
Topics covered in Flowers and Cake Design include:
  • Basic Principles of Cake Design
  • Gum Paste and Fondant 101
  • Button Flower
  • Pansy
  • Making Royal Icing
  • Making a Parchment Bag
  • Flower Nail
  • Rose Base, Rose Center
  • Apple Blossom, Primrose
  • Rosebud
  • Daffodil
  • Violet
  • Using the Lily Nail, Lily
  • Making Stems
  • Guidelines for Flower Arrangments
  • Floral Cake Design
  • Reverse Shell
  • Basketweave
  • Wilton Rose
So there you go. Can we say exciiiiiiteddd??? hehehehe..


 My student kit
 Lesson one we learnt to make button flowers and pansies using gum paste. Gum paste is almost the same as fondant except that it's more pliable and usage is more towards cake decorating than actual consumption.
 What did I learn? It is crucial to get the gum paste as THIN as possible in order to manipulate it with the ball tool to create realistic looking petals. Mine here looks like crap. Haha. But I did it again at home and it turned out better.
 Lesson Two I learnt piping the rose bud using royal icing. It's not as easy as it looks. I had to pipe several times to get it right.

 We also learnt the primrose, apple blossoms, lilies and the Wilton rose (again). Due to the time constraint, I haven't done the lilies and the apple blossoms yet (it's basically the same as the primrose but smaller) but I'll show you in my next blog along with the improved pansies.
Here is a pic of a macaron that my friend Sally made and brought along to class. It's a wasabi flavoured macaron. Interesting right?? It's was suprisingly delicious..sweet with a sudden burst of wasabi in the palate.  A daring and innovative flavour. Maybe I should try making macarons next. I shall 'beguru' with Sally when I have the time :)) Oh and the background is the Baking Class going on next door.
Ahh..this here is my homework. Yup. Homework. 40 flowers altogether. How I'm gonna do it I don't know with baby in tow ..haha..but that's the challenge right?
Keep following me on my next post next week for the final two classes. Cheerio!

Wilton Cake Decorating Course 1 : Lesson Two

Hello folks!! Just a quick overview on my second class at ICCA. As usual it's a balancing act whenever I do things other than mommy duties but I managed to bake a three layer yellow cake with chocolate ganache fillings a day before class.

So this is the cake I baked.
This is the cake after torting it.
Then I made chocolate ganache which is basically dark chocolate mixed with heated whipping cream which is then cooled.
Then you stack 'em together. The white stuff is the icing dam and the ganache filling is slathered inside the dam so that it doesn't spill out when you start stacking.

The remaining icing is then coloured teal which is a light blue tint. The cake is then iced with the help of tip #789. This is the most tedious part because getting the surface nice and smooth is the goal. I find it helps to heat the spatula with hot water and then once the frosting has crusted (meaning dry to the touch), smooth it over with parchment paper and like my instructor Angeline says 'sayang-sayang' the cake. :)

So this morning I went to class and we practiced icing with our star tips. It is harder than it looks as the constant pressure on the piping bag is quite taxing on the hands. I imagine it will be harder with a larger design. We also practiced writing with buttercream. It was a lot of fun despite my instructor telling us we all looked so serious doing it. I guess it showed our determination to master the skill haha!
Then we made a piping gel transfer on to the cake.The piping gel transfer technique is useful in copying a desired picture unto your cake. So this is how my cake looked like after that:
About nearly an hour after that, this is what I managed to decorate on my cake. I apologize for the scientifically incorrect potrayal of the rainbow. The writing skills still needs a bit more practice but it sure looked pretty to me. 
Then it's momom time. Yumm..
So what did I find useful in this lesson? EVERYTHING! Valuable ones for me are probably how to ice the cake smoothly, piping gel technique and writing techniques. All in all I had fun and gave me more confidence in my cake decorating skills. I can't wait for the next lesson in which we are gonna decorate cupcakes instead. Wait for that in my upcoming blog!