

Welcome to Scuba dude cake II ! I made an earlier blog post on the first Scuba cake here. This post is a more refined version of the latter and includes little underwater figurines such as the cute turtle you see above. Well let's get on to it!

First we make the sea/ocean fondant using the marbling technique of some white fondant with a much larger amount of blue fondant. Roll 'em together and what do you get? Bippity-Boppity Boo! (Sorry I just watched Disney's Cinderella earlier with my daughter lol!)

Here's the cake with fondant all smoothed over

So the first thing I do is of course the figurine...this time I made him hugging the cake at the edge as if he's reaching out to something..

I wanted to make him look as if he was flippin' his flip flaps flippity flapping away in the ocean. Made a liitle fondant ball to maintain his position while he 'dries'.

While waiting, I made his sidekick, the turtle. I'll call him Mr. Cowabunga. Here is Mr. Cowabunga's head all shaped with a smile on his face.

Then I inserted his dark brown eyes into the sockets..added some realistic looking eyelids and eyebags too(kinda looking similar to mine after all this cake making..).

Then I made his "boomerang' shaped legs and sandwiched it between two green oval shaped fondant pieces.

To make his shell, once again I used the marbling technique by mixing a little light brown fondant and a pinch of black fondant for that realistic colour.

Then using the dresden tool, I made grooves on his shell and stuck it on his back.

I also made the message.

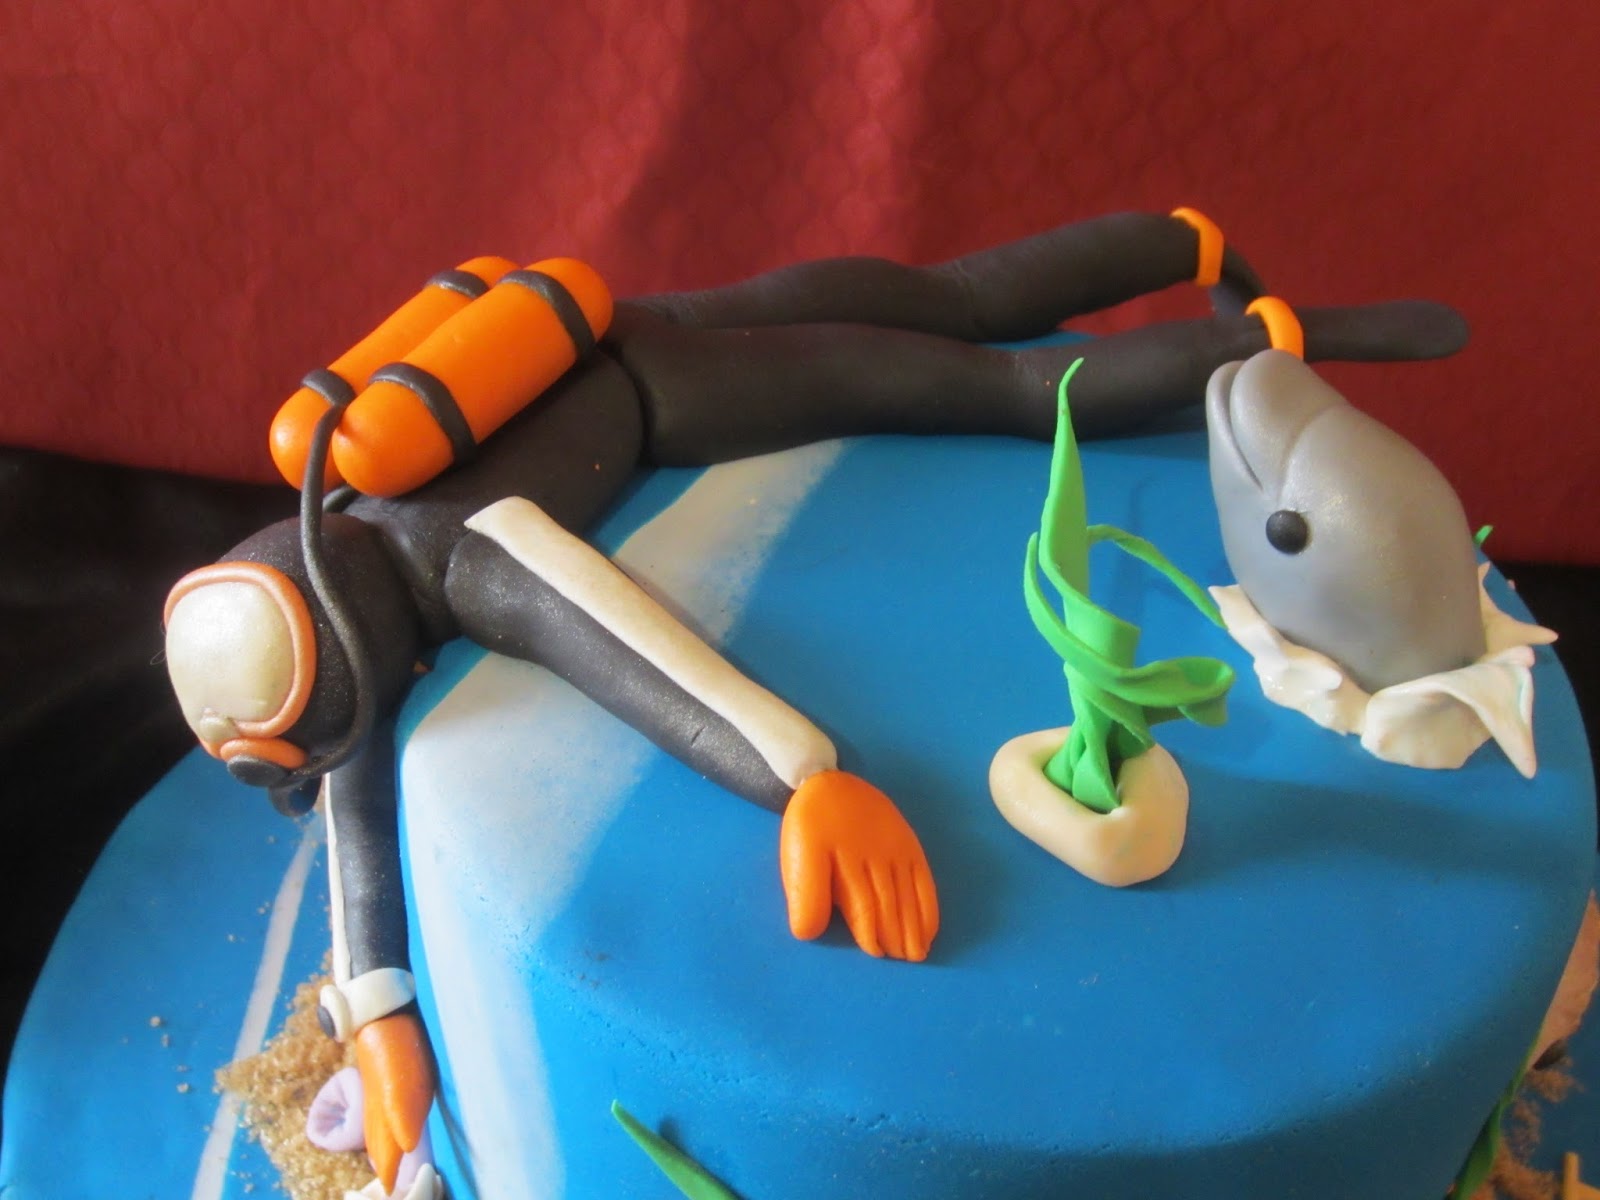
Here's scuba dude II all geared up with his SCUBA and positioned to 'almost' touch Mr. Cowabunga.

Closer view..

Even closer view of Mr. Cowabunga..


More views of Scuba dude II. I always put strips of tissue to help me maintain fondant pieces position while it dries. Here I'm using the tissues to make sure his breathing spout doesn't stick to his head.

Then I made the corals. These ones look like "Ham Chim piang" for some reason.(It's a local pastry here in Malaysia for those who don't know..it's like a flattened doughnut without sugar or a whole in it) I just poked little indents unto the fondant. Btw, I'm using fondant mixed with CMC here so that it hardens faster than just fondant alone.

Then I dusted some chocolate powder to give it a realistic look.

I tapped the excess and they were done!

Next I made the underwater seaweed. I just twisted around some green fondant strips.

Then I made these babies..no idea what kind of coral they are. Here you see it drying into shape.

Then there were these ones..

Just scrunched them up at the middle..

These I've done on the previous scuba cake...


Combined both corals to make this..

Well once again I used tissues to maintain the 'sea donut's shape while attached to the side of the cake.

Let's make fishies..here's one complete with scales made using my 'smiley' tool.

Then there's this gorgeous orange thingy..

I brushed some silver dusting powder on my fish..kinda looks like an Arawana fish..hold on that's a clear water fish not a sea water one..oh well...

I finished up the whole bottom of the ocean look with some 'sand' using some brown sugar.

Now it's Mr. Dolphin time.

..gave him a smile..
..stuck on his eyes..and brushed on some silver dust..


Here is the finished look.

The Sea donuts..or maybe they are pancakes..hmm..myb I'm just hungry..

Mr. Dolphin splashing out of the ocean's surface..

Top view..

Another angle..

Mr. Cowabunga's view

Scuba dude's view


Fishies...

Okay..all done!!
THE END.