

First, cut out half the desired shape of apron on a newspaper.I can't give you the measurements cos it depends on your size and a good rule of thumb is to measure the length you want and the width you want the apron to cover on your body and chest. Then pin it on the folded part of the material (mine was a printed canvas material) and cut it along the template. Kiut kan my kaki :P

Do the same thing on another thinner fabric to get the same shape and lay them together, printed side facing each other. Pin them together.

Then sew along the sides all around at 0.5 cm except in the end, leave about 2 inches opening.

This is how it looks like once you put it inside out through the 2 inch opening. Once this is done you may stitch the opening close by hand.

Now iron it flat.
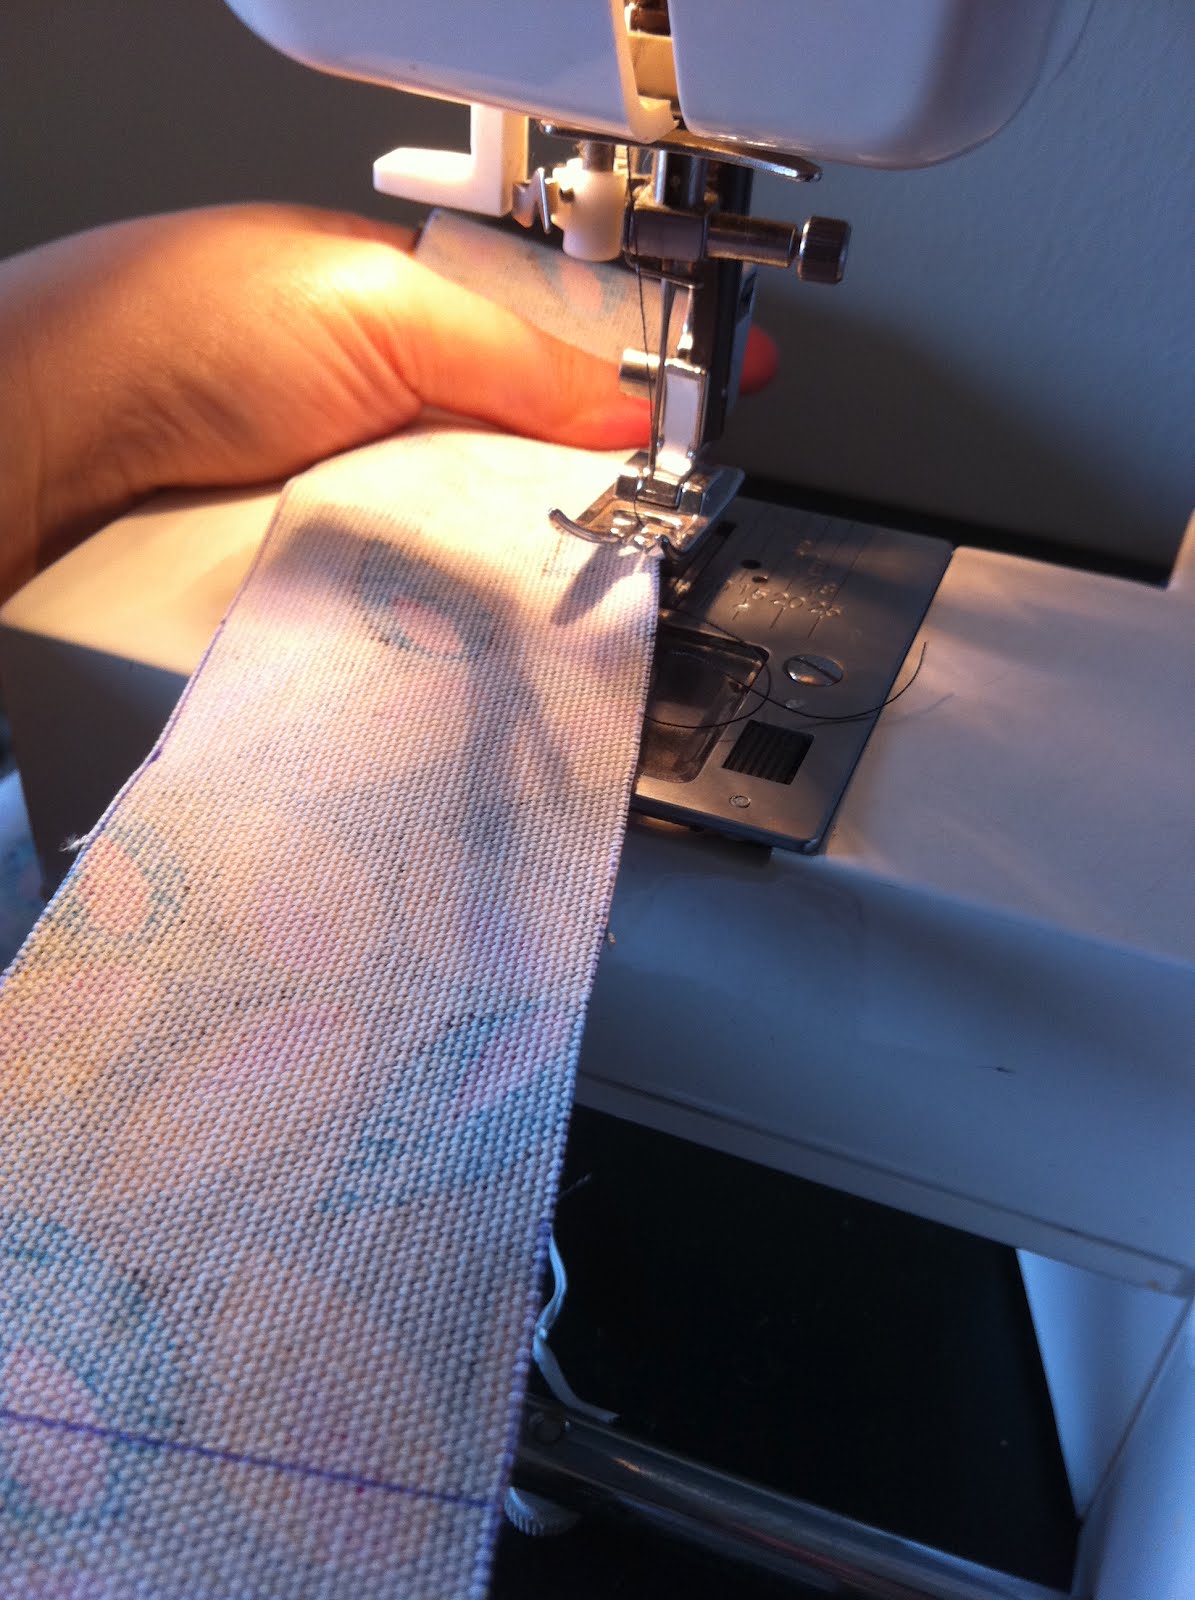
Now measure and cut the desired fabric length you want around your waist. Mine was 55 inches long and 2 inches wide. Take two strips of the material, put the printed sides facing each other and sew along the sides except for the ends and then put it inside out to reveal the printed side.

Iron it flat.

Put it on to the apron, making sure that it is symmetrical. Secure with pins and then sew it on the apron till the ends of the strip.

Now for the strip of fabric that hangs on the neck.You can measure yourself how low or high your want the apron to hang on your neck.From there add an inch allowance for you to sew it on to your apron. Repeat steps you did for the waist strip.The pic above shows how it looks like after it is put inside out.

Once that is done, pin it to the back of your apron and sew it on.

Voila!!! You have sewed yourself a cute apron specifically to your size! Best ka best?
No comments:
Post a Comment