The Making : Dooodolls Cupipi and Cupido cake

I swear each time I do cakes I learn about more things of whatever is out there in the world. For example the cake that I'm showcasing here is features characters that have captured quite a number of fans belonging to the Dooodolls franchise. Namely a Cupipi and Cupido Cake. This was specially commisioned from one sister to another (How very sweet! Literally..)
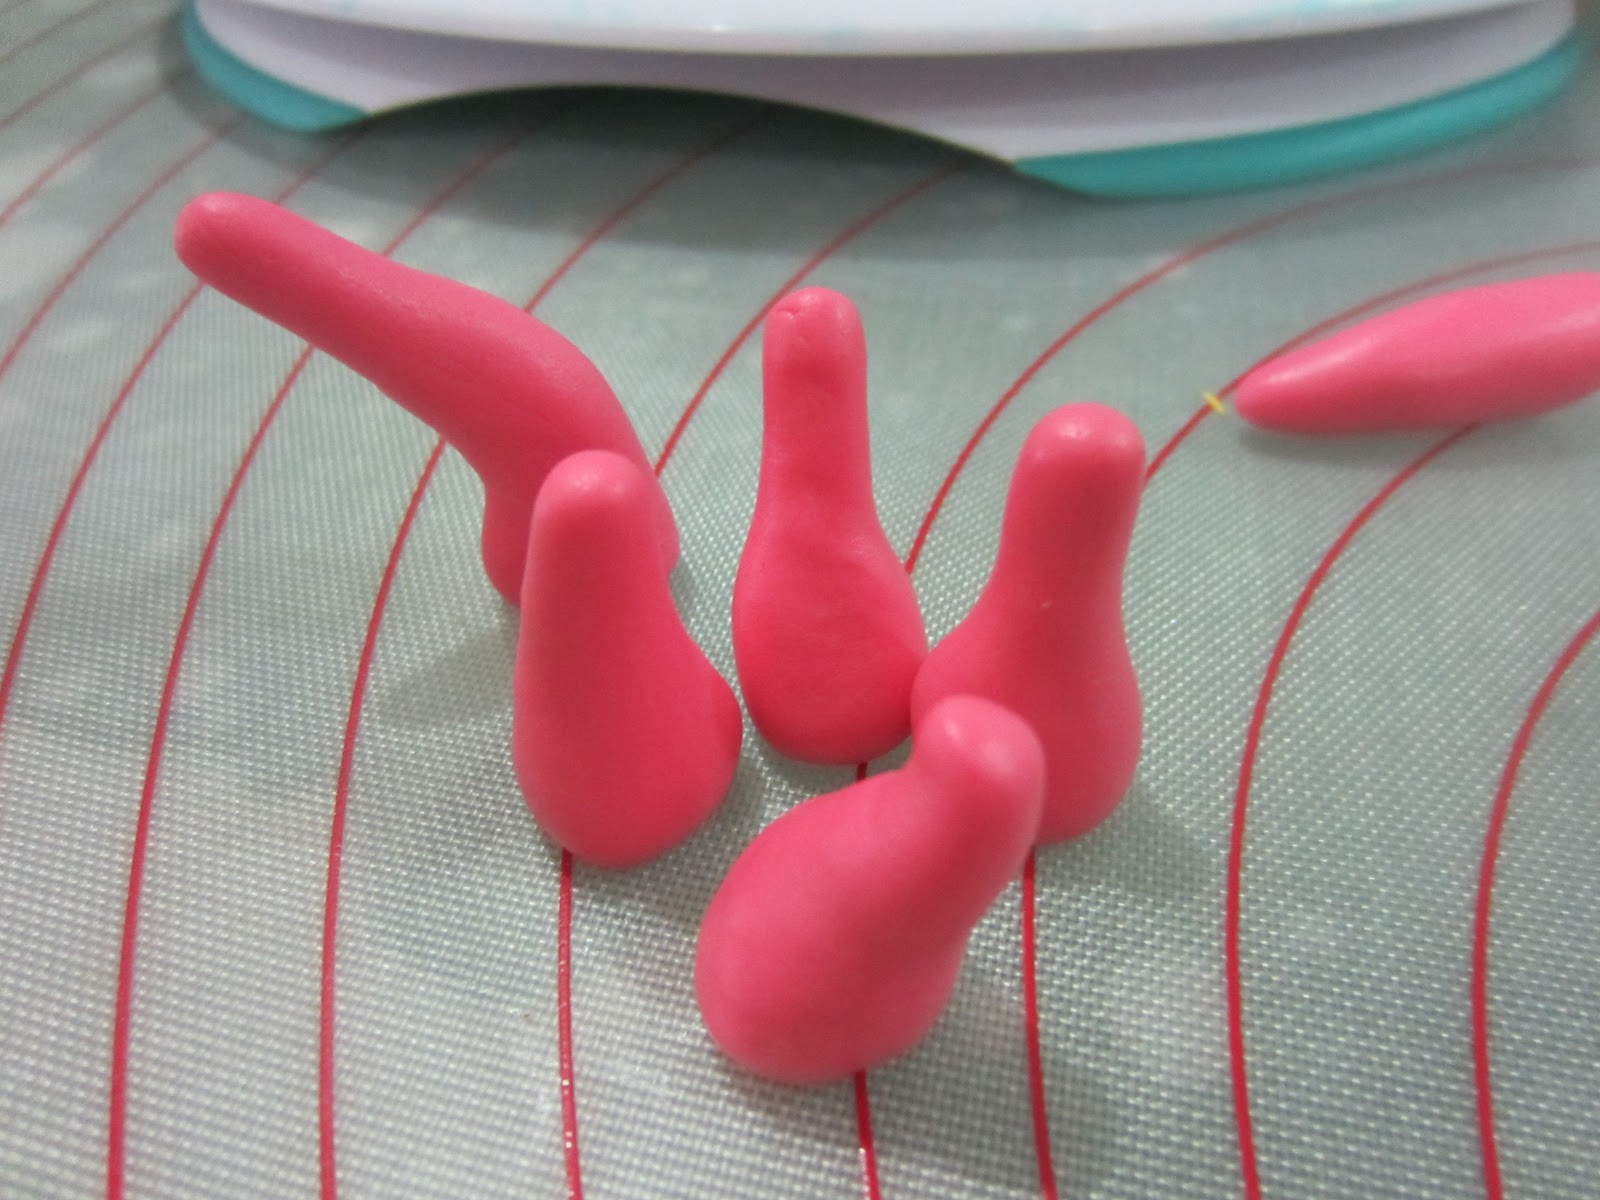
First off as always I started off with the figurines. I made two oval fondant ball and let it set. It was tricky getting the shape to be perfect so this took the longest to make.
Then I shaped out the legs and feet like so.

Skeletons are important in humans and figurines are the same. I used an uncooked spaghetti stick and some edible glue to construct the extremities.
Cupids have wings. So I made a pair each for Cupipi and Cupido.
Arms, eyes and big hearts attached.


Finally the wings.
While the figurines were setting ( it usually takes a day or two), I prepared the board and embossed it with a roly swirly design.

The cake was the yummy chocolate moist cake. I covered it with pink fondant and added the fondant lace borders. These borders were made using silicone moulds which you can pre-order here if interested.
I added on a ring of hearts around the cake.
Then got the message cut out and arranged on top of the cake.
Views from sides and on top.
Tested the figurines placement on the cake.
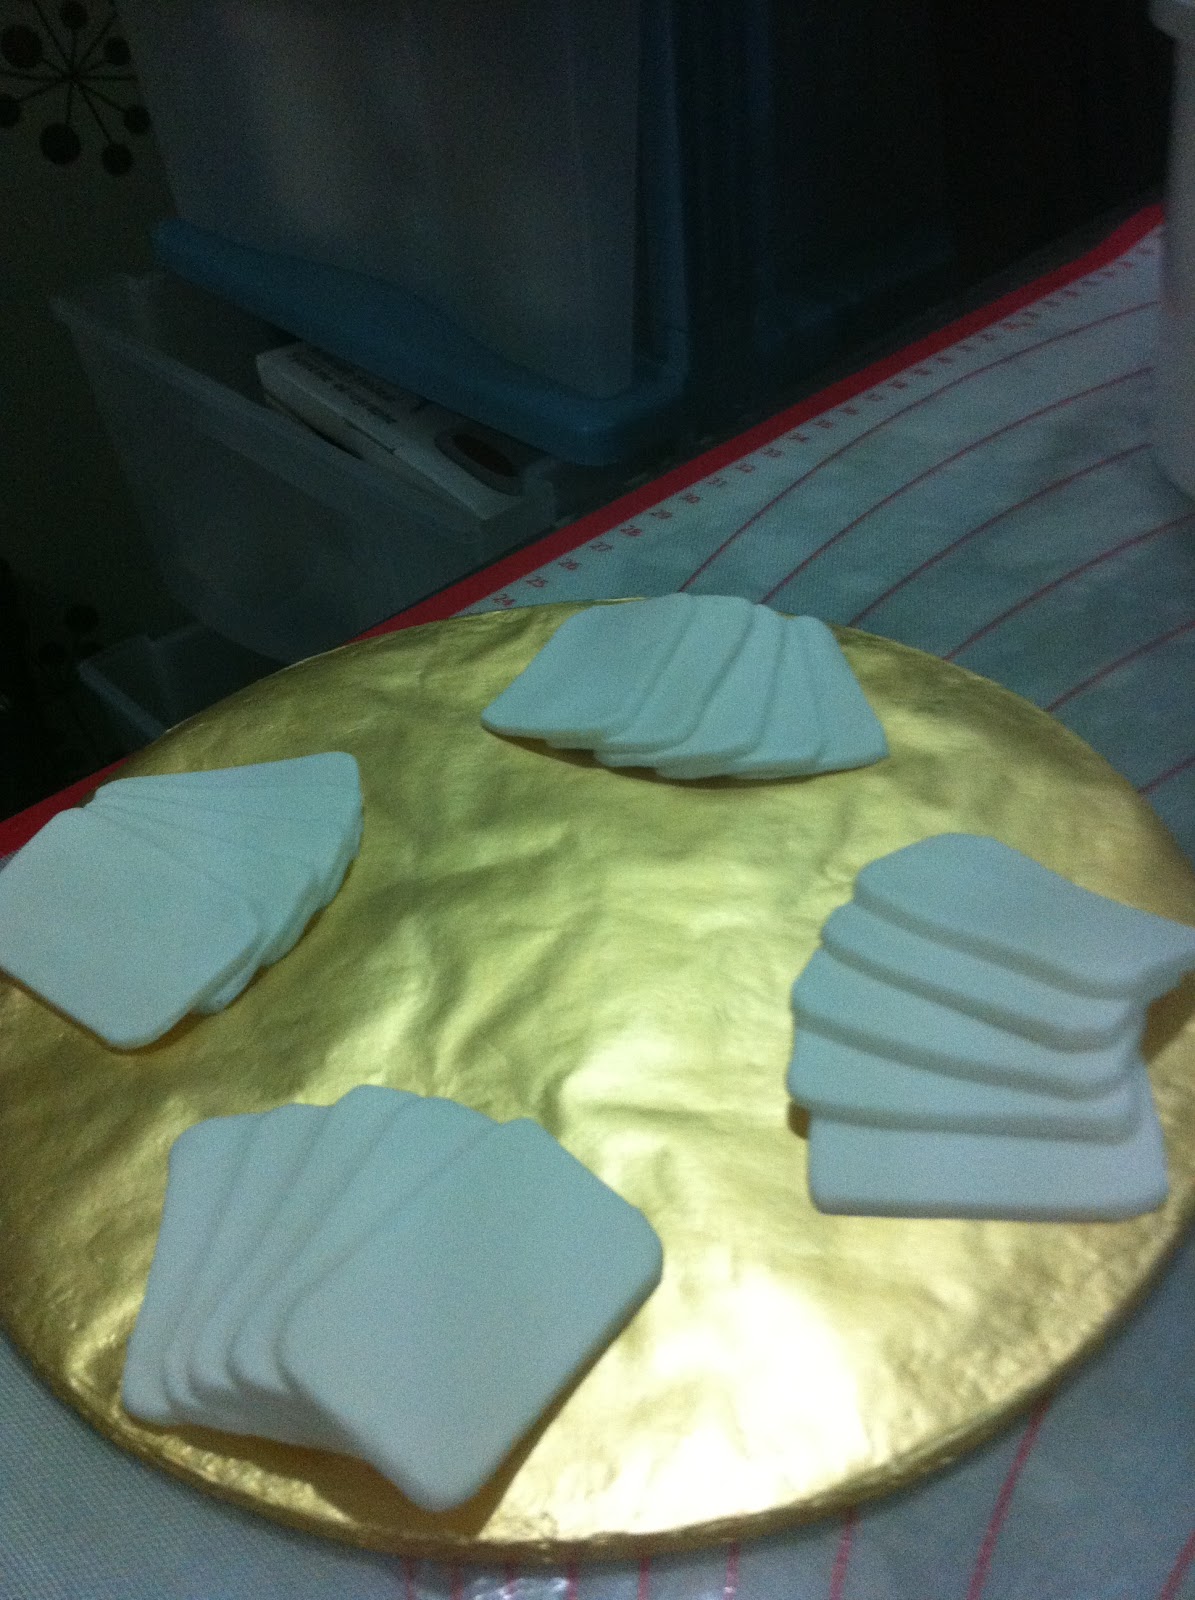
Next up, I needed to do 2D cut outs of fondant of the characters. First I traced out the character's profile on a piece of parchment paper. Then I traced it unto rolled fondant. I then cut the fondant along the tracing and then arranged their positions to how I wanted them to look like on the cake.
Patchwork cutters really saved my life on this project. The heart cutters were invaluable. I made so many of them and if I cut them out one by one by hand, I think I'd go crazy!
Next up, detailing. Here I'm using a pen with edible black ink.
This is how it looked like once done.


Here's how it looked like after being stuck on the cake.It wrinkled slightly after keeping it in the fridge and the fondant dried out a bit so wasn't too happy about that.Still looking adorable as ever though.


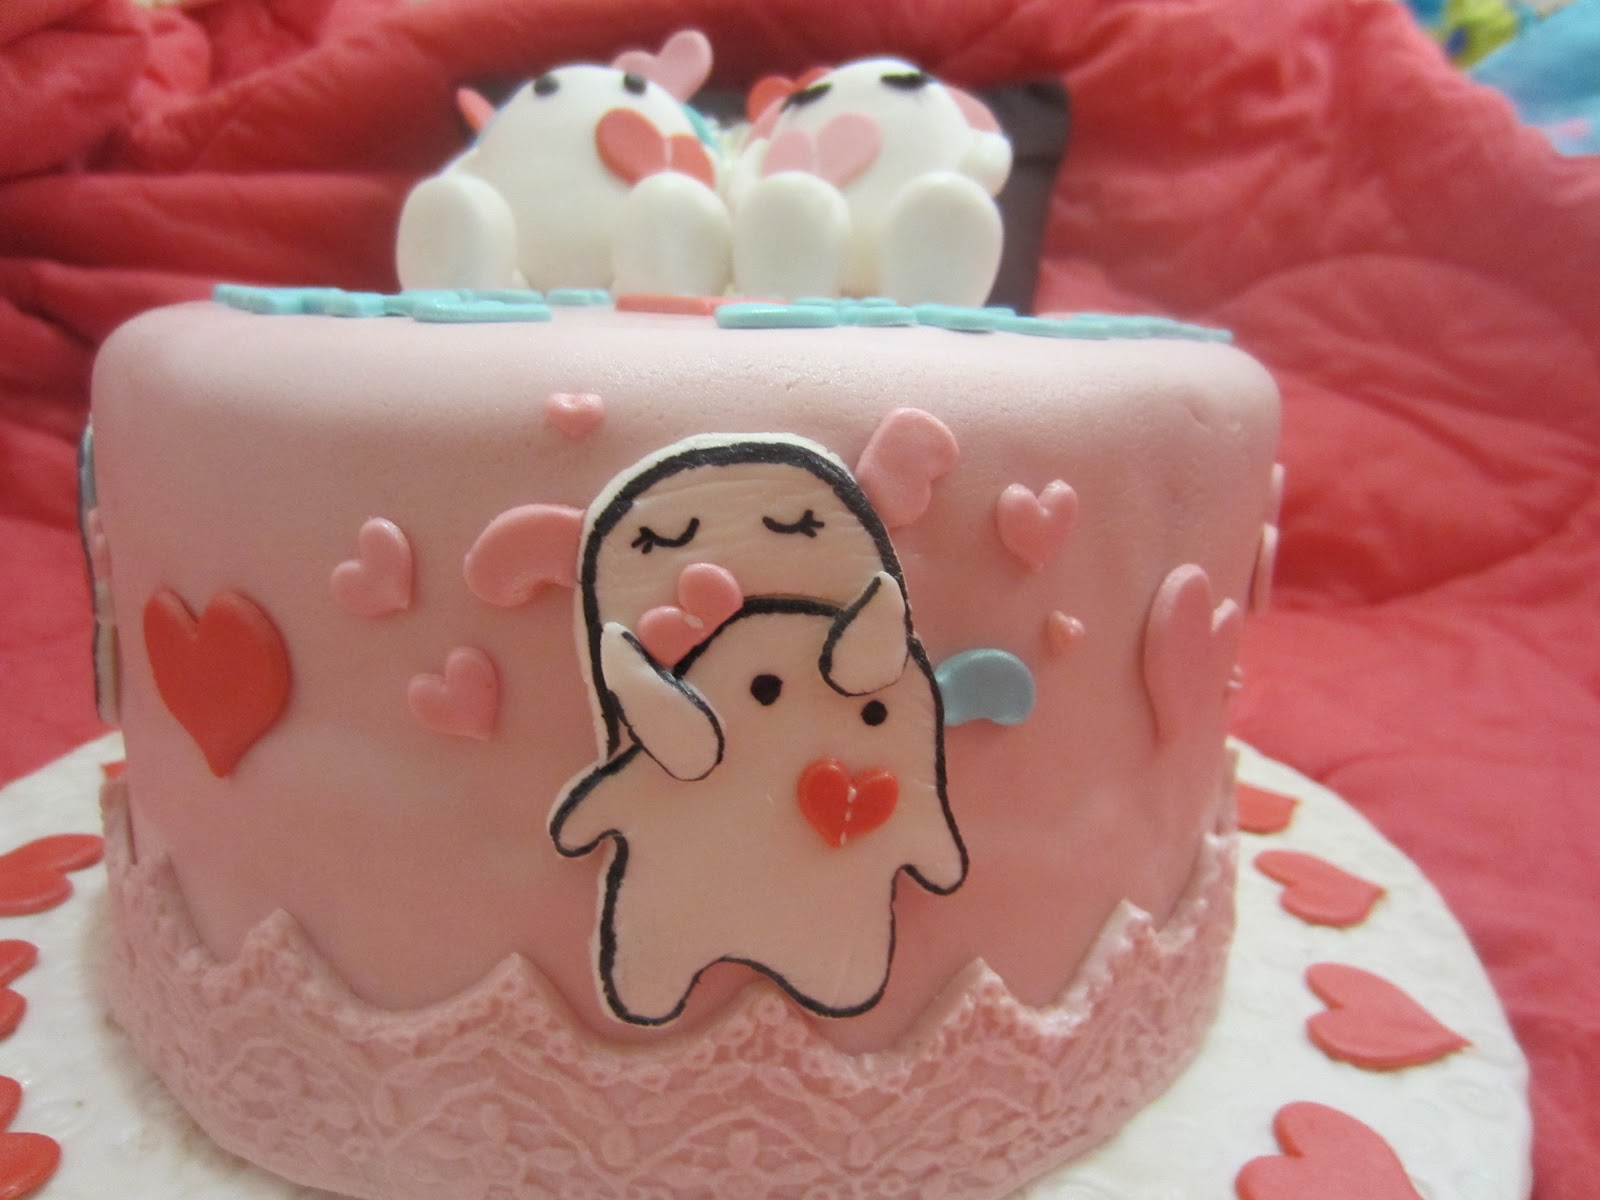
Finally I added on some fondant hearts on some wire and stuck it behind the figurines as a finishing touch. There you have it.. a Cupipi and Cupido birthday cake. I hope you get poked by Cupid's arrow after reading about this one! Love..Love Love..


The Making : Poker table with chips cake


Well hello helloww! In this post I will be showing you how I made an all time favourite game edible! Yes, it's a deck of cards on a poker table complete with poker chips. The cake is actually a chocolate moist cake with chocolate ganache on top so the chocolatey colour was a great background for the "table' itself and I didn't have to cover the entire cake with fondant. 
The lovely chocolate moist cake was filled with lovely chocolate mousse. Trust me this mousse was divine.
Once sandwiched you could see the chocolate mousse overflowing to the sides and it was a glorious sight!
I've always loved pouring ganache unto a cake. It's like watching hot lava spread out, smoldering the cake and getting into every tiny cake crevice that it could find. It's fascinating to watch really. Plus the smell is intoxicating especially if you are a chocolate lover!
Covering a cake with ganache is like painting your nails really. First you need to have a base coat, let it 'dry' or in this case 'set' and then pour a top coat to give it a lovely smooth shine.
While waiting for the ganache to set, I started on the cards. First I took a cake board which is the same size as the cake to act as a template. Then I measured the approximate size of the cards based on that template and then cut them out. I also made sure that when I arranged the cards, I had the spacings between the cards just right.

For the deck of cards in the middle, I just cut out a block of fondant and traced some lines along the sides to create an illusion of many cards.
Next up, I needed to create the card symbols. You can actually cut them yourself but I used my trusty 'cards' patchwork cutters to help me. It was much easier and faster. If you are interested in pre-ordering them, please email me :)
This is how it looked like once I stuck them on to the cards. I drew on the numbers and letters using a gourmet writer pen which had edible ink in it. I can tell you it was a challenge working on a small piece of fondant, sticking and drawing on the small details. I should get a magnifying glass next time!


Next I drew by hand the details for the back of the deck of cards. A little bit of concentration was needed here. Then I arranged it on the template to get a feel of how it was going to look like on the cake.

The tiny poker chips was relatively easier to make. I just had to roll out some black and red fondant and cut out some round circles using a small round cutter. Then I traced some lines into the inner circle to make it look realistic.
The poker chips on the side of the cake was fondant cut out using a large round cutter. I coloured in the details using the gourmet writer pen and let it dry.
The green 'felt' material for the 'table' was made using fondant. I had to get the green colour just right by adding some yellow to some ready made blue fondant. I then rolled it out and cut out a circle slightly smaller than the cake diameter itself. After that I simply laid it on the top of the cake.
The borders were made using chocolate fondant and pressed into shape using a bead maker mold.


The final arrangement is always my favourite thing to do. That's when I see all the work that I have made so meticulously before, come into place.

A closer look at the details.

Finally the message was made and the cake is complete. Till the next challenge! Now let's go have a game. Don't forget to put your poker face on!

The Making: Scuba Dude Cake and his Underwater friends

 Hi peeps!Today I'm gonna talk about the making of a scuba diving inspired cake. As you can see it has a scuba diver on top (I call him scuba dude) and some of his fishy friends below in the deep ocean. It was not a hard design to make but took equally as much time as my other more complicated designs prior to this. So let's get on to it!
Before starting anything, I covered the board with fondant made with a marbled effect.It's very easy just add a little white fondant to blue fondant and roll it out. It will the turn out looking like 'waves' in the sea.

As with all the designs that I do, I will prepare the coloured fondant first.This will save you time when you start decorating in the end.


I started by making the figurine first as this is always the first thing that needs to be done in order for it to set. I prepared the basic shapes like this pic and had it propped against the 'rock" so that it looked like he was resting on it while diving.


Next I finished up the tiny details such as the SCUBA tank, goggles. flippers and underwater watch. I left it to 'dry' for a day or two. Funny story with this scuba dude because he was meant for another cake but due to unforseen circumstances his cake was cancelled. He was finally adopted by another client and you know I could almost see him smile after that..:)
Next the yummy cake. This is a butter walnut cake. I baked two times enough for a two layer cake.
Next I covered and filled it with vanilla American buttercream.
Then I covered it with ocean blue fondant.
To make the underwater seaweed, I just cut random shaped strips and lined the middle with a veining tool.
Then stuck those greenies on.
For the purple corals, I made little balls and indented it with a round edge tool.
To make the red corals, I just rolled out fondant  with two tapered ends and then stuck them first unto the cake.
Then I indented it again with a smaller round edge tool creating the coral effect.
Next up the yellow coral. I rolled the fondant somewhat like a cone. Then poked the larger end with a round end tool.
Next the pink flower anemone. I rolled fondant to look like bowling pins with various sizes.
Then I made the petals with a small flower plunger cutter.
I then stuck the petals on to the smaller tip of those 'bowling pins' and added a white center.
Next up our friendly sea creatures. I cut out the shape of fish that I want and created the fins and tail using the veining method.
The dolphin was the same except I only added the white stripe on the bottom.
Then I arranged them all on the side of the cake. I added little details like the eyes, spots on the fish and bubbles.
Finally I put scuba dude to crown the cake with his hand as if trying to touch the dolphin.


A simple message done using patchwork alphabet cutters.
The happy scuba dude!

So there you have it..the making of a scuba diving themed cake. Hope you enjoyed reading about it :)) If you did, you can see and read about another scuba diver themed cake that I made right here, Thanks for reading!