Giant cupcake! Yup that's what I'm gonna show you today. Honestly I don't do much buttercream cakes because I mostly get requested to make fondant covered cakes, so on the rarity that I do get an order like this, I get kinda nervous. First of all, buttercream well..it's tricky..You've got to get the right consistency to produce the effect that you want. Second of all, you've got to get the right flavour according to your clients needs. There are many types of buttercream. There's American buttercream, Swiss meringue buttercream, Italian buttercream etc...hmm how come there's no Malaysian buttercream? Perhaps I should invent one. :) Anyway different buttercreams offer different levels of sweetness and texture. Most Malaysians don't like their cakes too sweet but in our humid and hot weather, they also would like if their cakes don't melt as easily.
Now like I said this is tricky. In order for buttercream to hold up a design, it needs quite a lot of powdered sugar in it and American buttercream seems to be the best choice in this case. That being said, the frosting then can end up being quite sweet. So when a customer says to me, "I don't want the frosting to be too sweet", I really have to scratch my head. (not this customer la but most of them). The only thing I can end up saying is that I can only adjust the sweetness in the cake itself. The only way I can cut down the sweetness in the frosting is by adding a bit of salt. Otherwise it is impossible to pipe. Otherwise I would suggest Swiss meringue buttercream, which is pipable but will not hold up well in hot weather. Well, you win some, you lose some.:) Aaaanyway let's start then..

Okay so giant cupcake. I really didn't have a mold for this so I went and bought this beauty. It's made of sillicone so it was pretty easy to get the cake out.


I then made some American buttercream which is basically made of powdered sugar and butter of course. I just added a little shortening to make sure that it was more stable and pipable in order to hold the shape of the rosettes. Of course a little salt to cut down the sweetness. Then I slathered the buttercream on the cake to form a crumbcoat and another layer to make it pretty. Here's the thing, and another reason why buttercream irks me a bit...being the perfectionist that I am, I will take AGES just doing this initial step. I see a dent and I get all flustered and want to smooth it over and over again. In other words, I find buttercream cakes are much harder than fondant at times..(okay MOST of the time).

Anyway, once I finally got that done. I practiced my rosettes. I mixed one part of the buttercream with some peach gel coloring.Then I put half of each the colored and non colored into a piping bag complete with 1M tip. Pressed and swirled it from the middle to outwards until I got the size that I wanted.

Once I was satisfied with the rosette that came out, I was ready to attack the giant cupcake wooooooOoo!

So I forgot to take step by step pics on how I arranged the rosettes on the giant cupcake.But here you can see the little star buttercream borders that I piped.


And here you can see how I piped the rosettes on the cupcakes itself. I made 3 colours, peach, maroon and natural buttercream

Here is a view of the cake from above.

...and from the side.
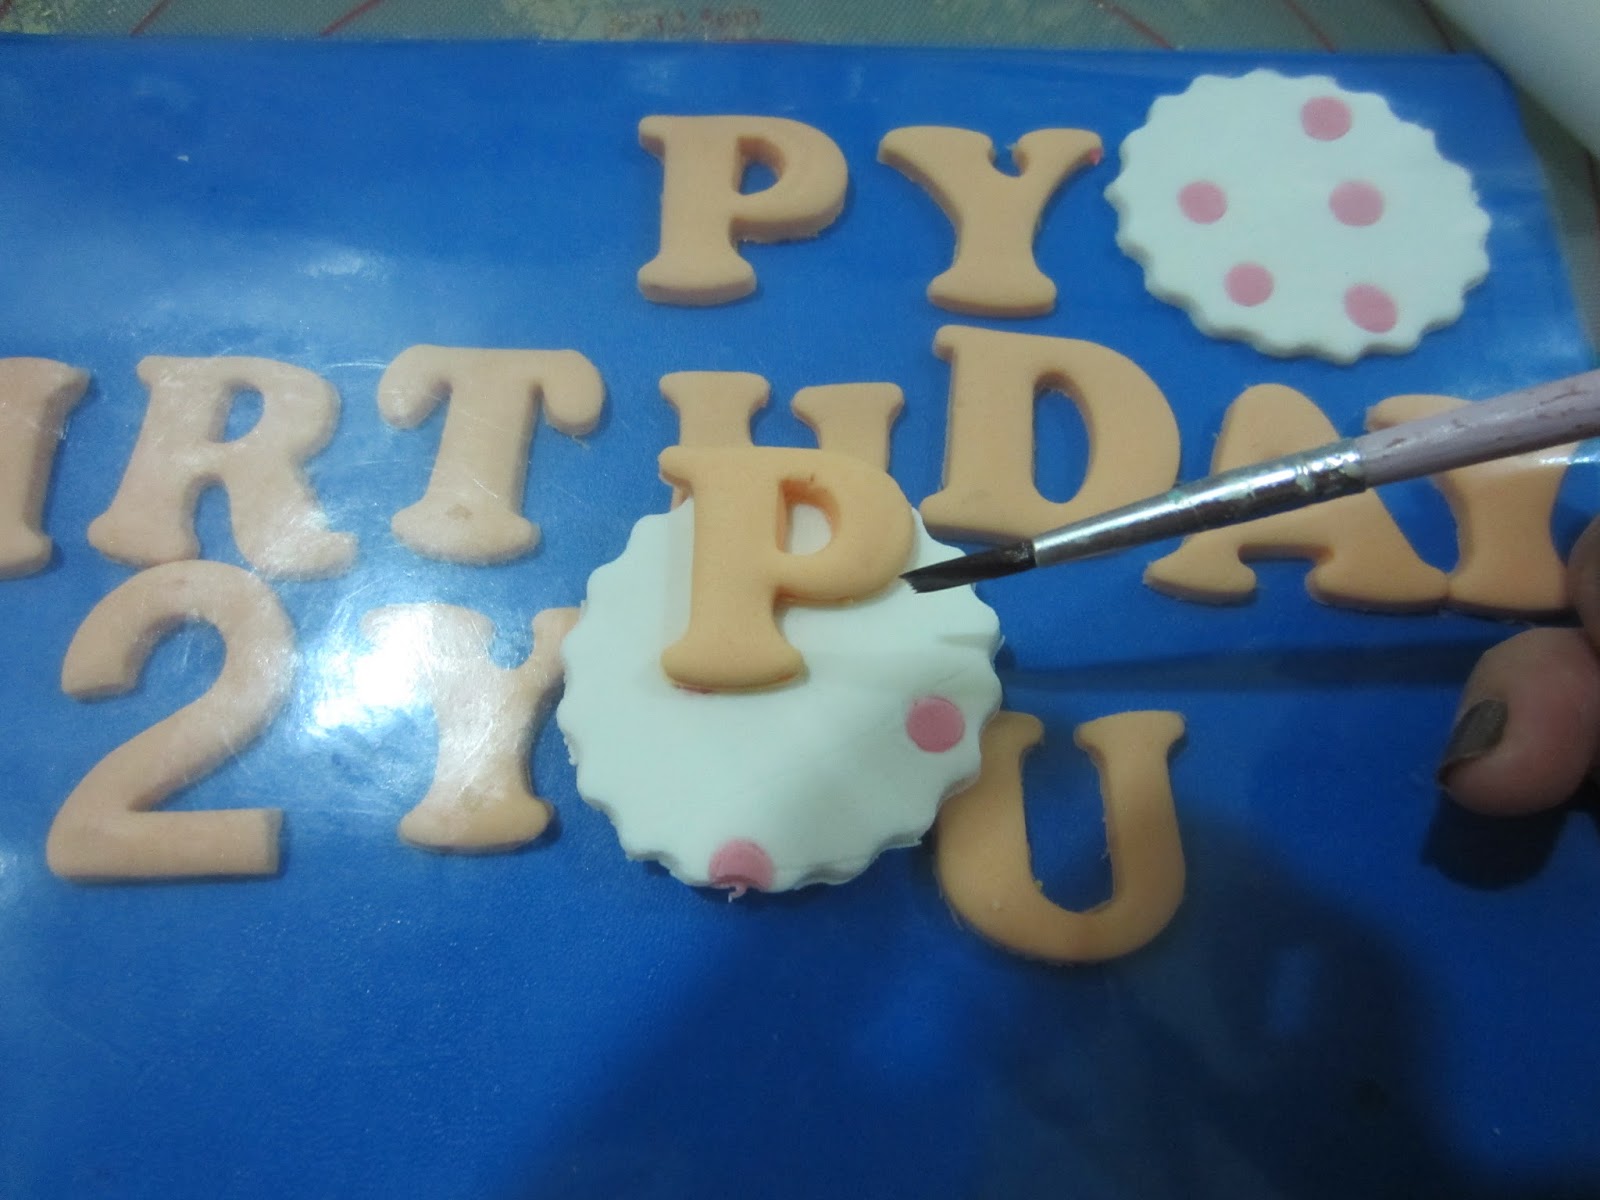
I made the cut out messages and put it on a fondant cut out decorated with pink polka dots.

..laid them on the cupcakes..

Then I made these twizzlers ( yeah I made that word up) a string of pink and a string of peach..

..then you 'twizzle' them together..

Here are my polkadot fondant butterflies drying into shape


More views of the cake..

Then I brushed some pearl lustre on to the alphabets..

...and also on the butterflies..

By the way, I made the board myself. I got some matching wrapping paper and covered the board with it and covered it again with a sticky plastic sheet. It really made the cake come all together. Giant buttercream cupcake was a success! Toodeloo folks!