

This is the cake that I made for my daughter's first birthday. Her birthday theme was a colourful one because that's all a one year old can really understand and enjoy right? The cake was a simple and cute design with a delightful surprise inside!

I took the recipe from Sweetapolita Rainbow Doodle cake and once mixed I divided the batch into 6 bowls to get the same amount in each layer.I didn't quite understand why the recipe only called for 6 colours. Aren't rainbows supposed to have 7 colours? Oh well...

This is how the batch looked like after colouring it with food gel paste..recipe called for gel colouring in order to guarantee a bright tint on the cake with minimum addition of colouring. The use of liquid colouring would not produce the same effect.

Now, the challenging part.The Lemon Swiss Meringue buttercream. I was a bit hesitant at first because it was my first time making it and from what I read there was a possibilty that it might fail. In this pic I had reached the curdled stage and was sweating profusely even with a hand mixer.I didn't want to use a stand mixer just in case I over did it. Fortunately I presevered and ...
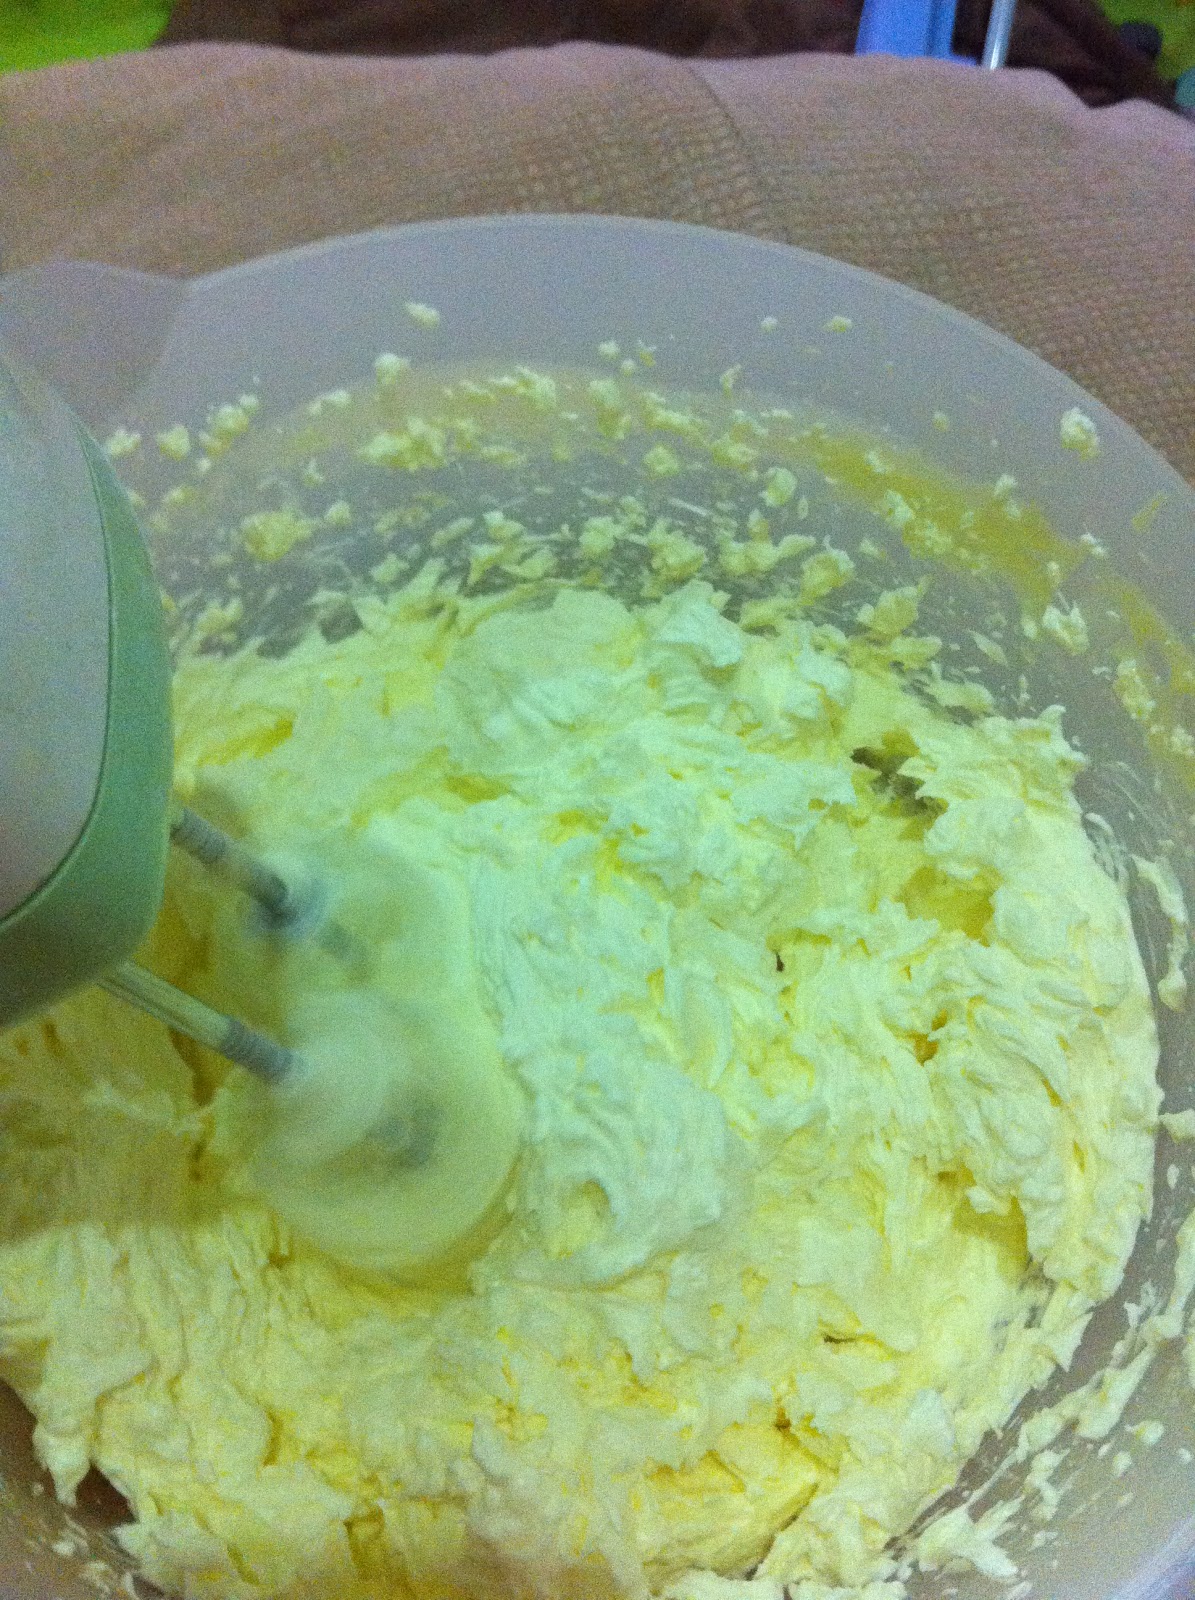
it actually came about quite well! Tasted light, fluffy and silky smooth and most importantly LESS sweet. Just how I like it.

I then layered on the cake one on top of the other and smothered it with that beautiful lemon swiss meringue buttercream.

This is how it looked like fully frosted.

Ok this is another thing I did for her birthday..sugar cookies with royal icing..here I am flooding the cookies with royal icing.

This is how they looked like after I wrote on each one with edible marker pens.Cute eh?

Anyway back to the cake..I then covered the cake with fondant and smoothed it over.

My daughter loves animals and particularly kitties so I made this fondant figurine especially for her.
A multicoloured cat!


I cut out the wordings out of fondant and added some side accents..little cute flowers and a twisted string border..poked in a candle and I was done! I can tell you it was a lot of work despite the simplicity!


Time to cut the cake! I got a lot of oohs and ahhs at this point. I think the colours bring out the kid in everyone. Perhaps some might think all that colouring must not be good for ya..I say..hey..it's a birthday party and you don't get to eat this often..live a little! :D By the way, it tasted heavenly!
Even my daughter enjoyed it and that's all that matters :)


