The making : Aurora's Rainbow Cake

This is the cake that I made for my daughter's first birthday. Her birthday theme was a colourful one because that's all a one year old can really understand and enjoy right? The cake was a simple and cute design with a delightful surprise inside!

I took the recipe from Sweetapolita Rainbow Doodle cake and once mixed I divided the batch into 6 bowls to get the same amount in each layer.I didn't quite understand why the recipe only called for 6 colours. Aren't rainbows supposed to have 7 colours? Oh well...


This is how the batch looked like after colouring it with food gel paste..recipe called for gel colouring in order to guarantee a bright tint on the cake with minimum addition of colouring. The use of liquid colouring would not produce the same effect.

Now, the challenging part.The Lemon Swiss Meringue buttercream. I was a bit hesitant at first because it was my first time making it and from what I read there was a possibilty that it might fail. In this pic I had reached the curdled stage and was sweating profusely even with a hand mixer.I didn't want to use a stand mixer just in case I over did it. Fortunately I presevered and ...
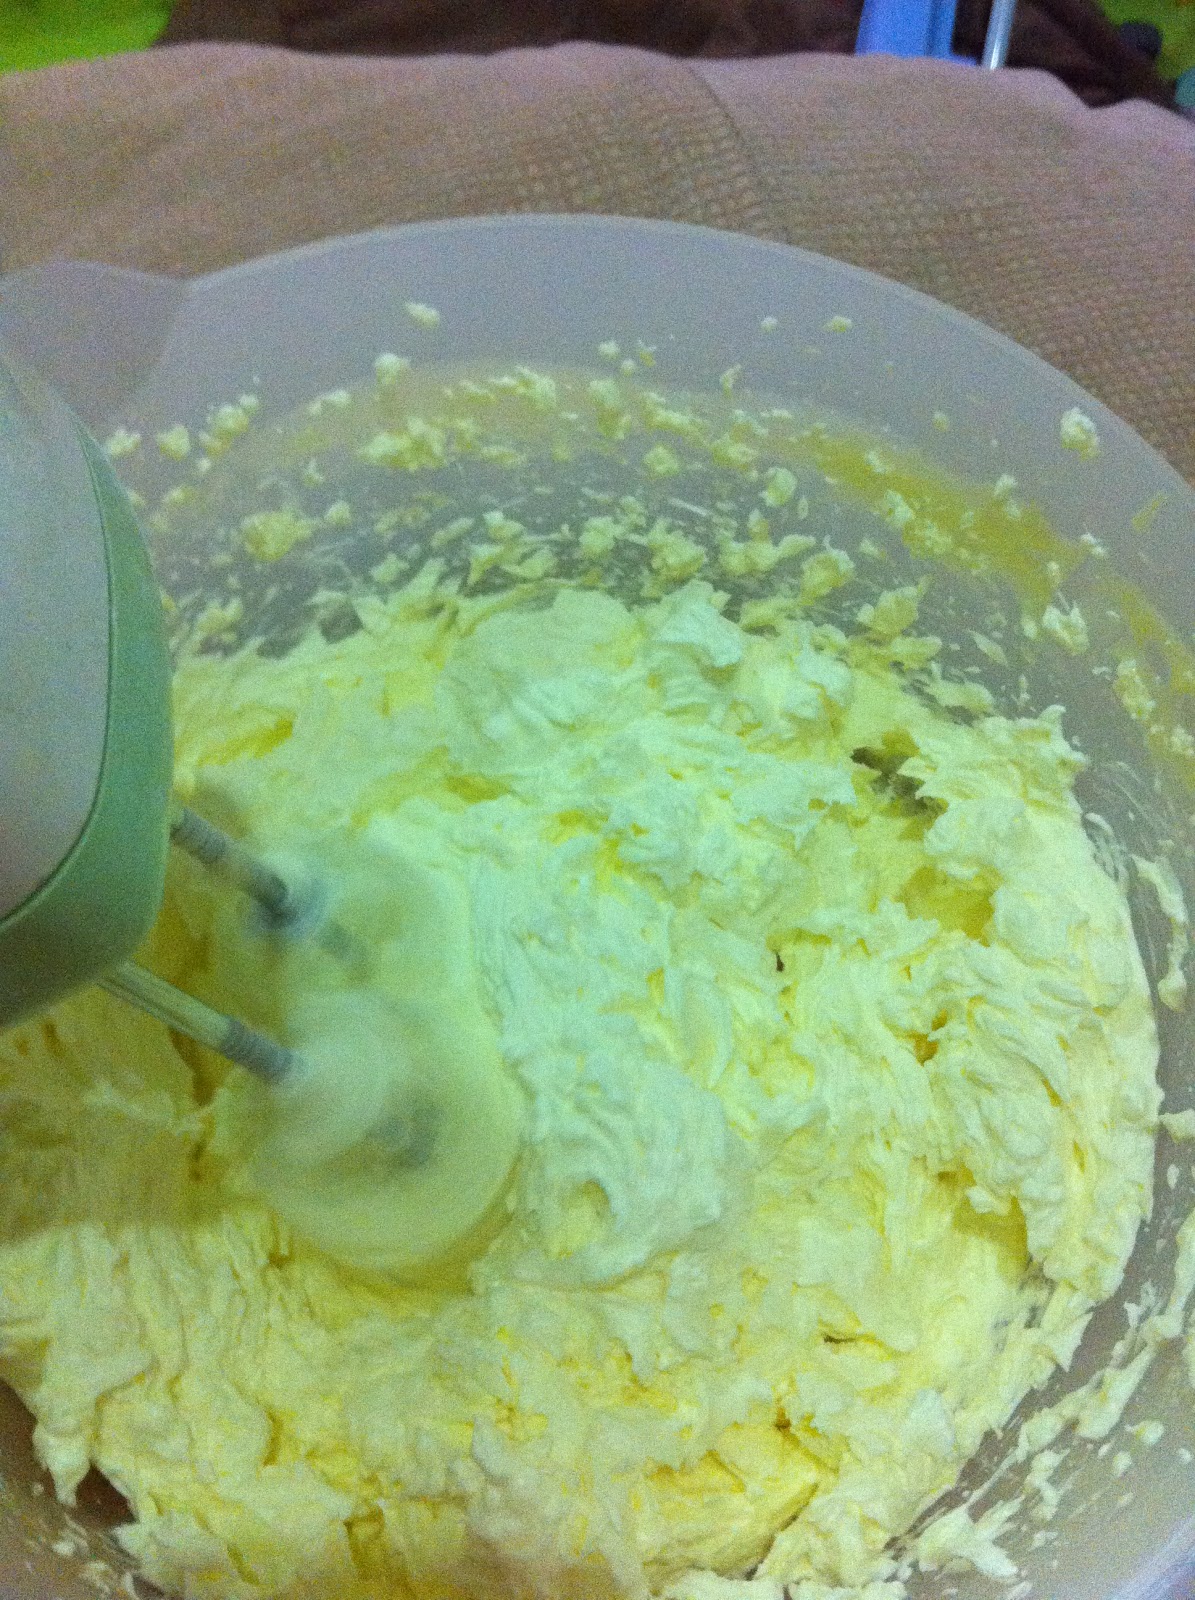
it actually came about quite well! Tasted light, fluffy and silky smooth and most importantly LESS sweet. Just how I like it.
I then layered on the cake one on top of the other and smothered it with that beautiful lemon swiss meringue buttercream.
This is how it looked like fully frosted.
Ok this is another thing I did for her birthday..sugar cookies with royal icing..here I am flooding the cookies with royal icing.


This is how they looked like after I wrote on each one with edible marker pens.Cute eh?
Anyway back to the cake..I then covered the cake with fondant and smoothed it over.
My daughter loves animals and particularly kitties so I made this fondant figurine especially for her.
A multicoloured cat!


I cut out the wordings out of fondant and added some side accents..little cute flowers and a twisted string border..poked in a candle and I was done! I can tell you it was a lot of work despite the simplicity!


Time to cut the cake! I got a lot of oohs and ahhs at this point. I think the colours bring out the kid in everyone. Perhaps some might think all that colouring must not be good for ya..I say..hey..it's a birthday party and you don't get to eat this often..live a little! :D By the way, it tasted heavenly!
 Even my daughter enjoyed it and that's all that matters :) 

The making of : Chelsea Soccer cake

Today I'm gonna write about the soccer cake I made for my friend Jeff's birthday.I was commisioned by girlfriend Yoyie to bake and decorate a cake that depicted his favourite team The Chelsea Football Club.
The chocolate guinness cake was baked and crumbcoated and then soccer part covered with fondant. I used the Wilton soccer pan to bake the cake.
This is how I traced the logo. I used the pin method in which I meticulously poked the fondant with a small pin through the logo that I copied.
This is how the fondant template looked like after poking.
Then comes my favourite part. The painting. I mixed the gel paste colours with a little bit of clear vanilla essence and painted on the colours unto the fondant.
I realised the blue was a bit dark so I lightened it with some white color to create a lighter blue.
I finished off the shading and the finer details
I added some buttercream grass and the football field look was coming to life!
I painted on the birthday boy's name and age on a cute blue shirt I cut out on fondant..hehe

Tadaaa!!! Chelsea soccer cake done and ready to serve! Hope you enjoyed this. If you wanna see more, you can read about the rainbow cake I made for my daughter's first birthday in my next post!


Wilton Cake Decorating Course 3 : Gum Paste and Fondant Class 3 and Completion!

 Hello again! Well I finally have a bit of time to post about my final two classes on this Wilton cake decorating journey and this is my graduation cake. Truly the pinkest cake I've ever decorated!
 In these last two sessions we learned so many things, like how to cover the board with fondant...
Aaaanddd....How to cover the CAKE with fondant..
 Look at all my hardworking fellow course mates kneading away...my neighbour Sabrina refuses to look at the camera cos she's so into her kneading...lol! Some say it's good exercise for the arms..some even say can 'enhance' their 'bosoms' shall we say...haha!
As I said in my previous post, the bows that I had already assembled got all floppy and some of the loops broke so I had to make a new one.Me likey the polkadots on the new one :)
Aaand this is how it looked like once put on the cake.. 
 This is just a showcase of the gum paste flowers that we learned in this course. The daisy, roses, mums or chrysanthemums, carnation and the calla lily. Pretty ain't it?
We also learned many types of borders. Ball borders, ruffles and plenty of other techniques such as inlays and outlays as shown on these other beautiful masterpieces by my coursemates.

 I'd say they are such a creative bunch of people!
 A nice pic of me receiving my final cert from our lovely and patient instructor Ms. Angeline Stanley.
 A slightly tired looking me holding up my cake proudly!
 Sigh..it looked even nicer when airbrushed with some pearl shimmer..I have to invest in one of those one day..awesome stuff!

I didn't actually take a group photo but this was the one taken by Angeline. I'm actually going to miss all the fun and laughter from this group.Truly a wonderful memory that I can share with my kids one day. It's only just the beginning but at least it's a start. Actually there are plenty more to learn and I hope I can share more of my journey as I intend to go and learn different techniques perhaps from individuals who are experienced in cake decorating. As for now, I am content and happily taking orders. This will give me the chance to hone my skills and gain more experience first before moving up to the next level. All in all, besides sewing (which I still love!) cake decorating gave me an outlet to show my creative side and eat my cake too! Next post? The making of my Chelsea soccer cake and my daughter's one year old rainbow birthday cake!..coming soon!

Wilton Cake Decorating Course 3 : Gum Paste and Fondant Class 1 and 2

 Hello everyone, I'm back for Course Three in the Wilton Cake Decorating series at the International Centre of Cake Artistry. This time classes are more intensive as we did Class 1 and Class 2 in one day so it took four hours to complete. Next week we are doing the same too for Class 3 and Class 4 but that will be in my next blog. This is what I received in the new syllabus !
 This board basically explained all that we did on that day..pretty intensive but nothing too stressful.
 I totally love the silpat mat on which I rolled my fondant on..a bit pricey but sooo worth it...wonder why I didn't get it earlier?
 So these were my rose bases and mum bases..all ready for the next classes.
 This is the base for the carnation
 The finished carnation!
At the end of the class this is what I managed to finish..the calla lily, rose, carnation that were all made from gumpaste and the bow which was 50% fondant and 50% gumpaste. Unfortunately my bow kinda broke after I got home so I probably need to cut and assemble it again :P Well that was basically what we did for this session, class 3 and graduation will be on the next blog..kinda sad that the classes are gonna end soon but it's okay. Now time to plan my final graduation cake! Till then folks!

Princess Doll cake and Rock n Fire electric guitar..:The Making

In this post I will talk about my latest projects the Princess Doll cake and the Rock and Fire electric guitar cake. I know some of my friends said I should charge a fee for sharing my techniques or not share any trade secrets but it really is not that complicated as I only applied what I had learnt from my classes at ICCA and a bit of common sense with a dash of concentration to details. So here goes..

This is the first cake : A princess doll cake with special ruffle details on her skirt. The cake is a buttery vanilla cake with buttercream and fondant on top.
This is the second cake and I named it the Rock and Fire electric guitar cake. This cake is of chocolate truffle flavour and is made entirely of buttercream. Quite a challenge actually because I had to achieve the look of a fondant cake.


Okay let's start with the doll cake. As you can see this cake is mostly in the 'skirt' of the doll. Client wanted a ruffle-y look to the skirt. It was impossible to achieve with just fondant so I had to mix in a little bit of gum paste so that I could roll it thin enough work with. Fondant itself was too soft to manipulate into ruffles and would fall flat once stacked unto the cake.

In order to achieve the ruffles, I rolled a thin layer of fondant cut with a round cookie cutter and then cut again in half to form a semi-circle. I then used a ball tool  and the same technique as forming petals in flowers was applied.
I let them dry on a flower former to stiffen them up a bit before layering them on the cake. I then arranged them on to the cake before they got too stiff. Every once in a while I shaped the ruffles with my ball tool once on the cake to maintain their shape.

Once done I glued on white pearl sugar beads on the ruffles and finished off with the top part of the dress complete with a belt and necklace..
In better lighting.


I then decorated with some of my sugar lillies, a couple of hearts and the writing.

Finished off with a tiny tiara and then ready and packed into the cake box.
On to my next cake, the electric guitar! As you can see, I baked using the Wilton guitar pan. I had to make sure the cake would fill the pan once baked so I put in a quite a lot of batter and that explains the crack. It baked beautifully though and had a wonderful texture to work with. I leveled off the dome part and elongated the handle part with more cake that I  had baked separately.

I turned it over on the cake board and brushed the crumbs away.This was the challenging part: How was I supposed to create black buttercream without it tasting too bitter?  I found the answer  by mixing black chocolate powder  imported from Spain with the Wilton buttercream recipe along with  a little black coloring gel. Mind you it was still a bit grey when I finished mixing but just as the forums I read told me that you have to wait a few minutes for the colour to darken. And it did turn a beautiful black sheen. Then I covered the cake first with a crumb coat and then a second layer and smoothed it over to dry.

Next was the 'fun' part or shall I say the creative part. I marked the fire motif on the guitar free hand using a spatula unto the buttercream surface as above.

This was the tedious part as I painstakingly outlined and filled in the space with golden yellow buttercream using tip No.2 and then slowly brushed it smooth. I let it 'dry' for 10 minutes and then smoothed it over with parchment paper incorporating it into the black buttercream.

This is the magic stuff that created the 'FIRE'. I sprayed this wonder product unto the yellow buttercream to achieve the flame look. I should invest in a proper airbrush one day but this will do I guess :)
I then completed all other details on the guitar like the strings and knobs.

How did I achieve the silvery look on the knobs? By mixing silver lustre edible powder  with clear vanilla and painting them on. This was when I was working for my money. Details..details..details .. :D

Some ball borders and one electric cake guitar DONE!
Piped the writings and cake was complete.

Another look at the pretty Princess Doll. I loved how the ruffles caught the light and produced shadows underneath.
Oh by the way, I also made 3 dozen cupcakes. Colourful colourful cupcakes!

Finally another look at my Fire and Rock electric guitar cake. I was proud with the work done and actually learned a lot by doing it. What's that long silver thingy there you ask? He said I should pipe a cable since it's 'electric'. Okaylah. So I did.

There you go I hope you enjoyed the making of these cakes and learned along with me. I really hope my client enjoyed these cakes as I enjoyed making and designing them. :D