

Hey peeps! I'm back with my latest creation. Yup it's a poodle on a cake! I'm so glad I got this project because it had a nice story behind it. It was a cake from a guy to his girlfriend and the cool thing was they were gonna celebrate it together with the kids at an orphanage. I think that's really sweet, don't you?
Well on to the making!!


The thing was, I needed a board to fit an 18 by 15 inch cake.There was none that I could find at the bakery supplies store so I had to make one from scratch. I basically bought a wooden art board, some foam boards and some corrugated plastic sheets and stuck them all together with tape .Wiped it clean and voila!! A 23 by 26 inch home made cake board.


The poodle.Well I had to look up the internet for a picture of a nice poodle figurine and made it based on that.Client wanted a brown poodle to match his own. I really had to make this like five days before as the fondant mixed with gumpaste needed time to set. I had to wait for the pic of the actual dog to get the fur colour right but I also had to keep in mind the whole colour combination of the cake itself so I made some adjustments. Basically I did the torso first, then the legs to steady the torso and finally the head. More on that later....

Next up I had to prepare the board. First I had to cover the sides of the surface of the board with white fondant. Then I rolled out Satin Ice dark chocolate fondant and started streaking random cuts from up to down with my roller cutter. I must say a few small stripes got into my mouth while doing it because the fondant was so chocolatey and yummy!

Then I started arranging the strips on to the board. The trick here is to create a zebra looking pattern.It doesn't have to be perfect but you do need to put a little thought on how to fill in the spaces nicely.

So this is how it looks like once done. I left the space in the middle empty because that will give me an estimate on where the actual cake should be placed.

Ok back to the poodle. After a few days and a pic of the actual poodle later, I began to make the 'fur' of the poodle. Now the fur is actually made up of royal icing. First I made a white base and piped it on to the dog in swirling motions.Then waited for it to dry a few hours so that it will harden. After that I made a cream and brown based RI and added it on top of the white fur. I didn't want to make it too realistic as I wanted to add some whimsy to the dog itself..looking all pretty and shall I say 'poodle-ey'..:). I forgot to ask if the poodle was female or male but I added the bow anyway to match the cake.

This is how it looked like once fully piped.

Added the eyes and nose to finish it off and there you have a brown poodle!

On to the cake! I baked a chocolate fudge cake with a recipe that would be stable enough for carving as I had to shape it into a pillow. This took a good one hour to get the dimensions just right and symmetrical. I could have used a pillow pan but the size the client wanted was much bigger than the pan. So carving it is!

Next I covered it with pink fondant. This was challenging because I've never draped a cake that wide before and you really need to make sure you have enough fondant to begin with when you start rolling. This is where you could say I worked out a bit. Ladies, if you are trying to get rid of your flabby arms, this is the exercise for you! But once you see that cake nicely covered, you will know that it was all worth it!


Next I rolled on the stitched pattern unto the fondant using the uh.. rolly-stitchy-thingy..I have no idea what you call it. The pillow itself wasn't perfectly flat but aren't pillows supposed to look 'plushy'?..if that's even a word to begin with :D. I also tucked the pillow nicely with some string of fondant beads.

Next, my favourite part. I always feel artist-ty when I pull out my airbrush gun (and slightly dangerous too!--gets me excited -haha!) Anyway, I airbrushed on some pearl shimmer to give the pillow that plush shine to it.

Finished airbrushing the pillow. A little crack because I waited too long after draping to spray on the airbrush so it dried up a bit but still yummy looking nonetheless.

While waiting for the airbrushed cake to dry, I made the name plaque for the lucky birthday girl using an edible ink pen. What a sweet name, don'cha think?

Then I made the birthday message.
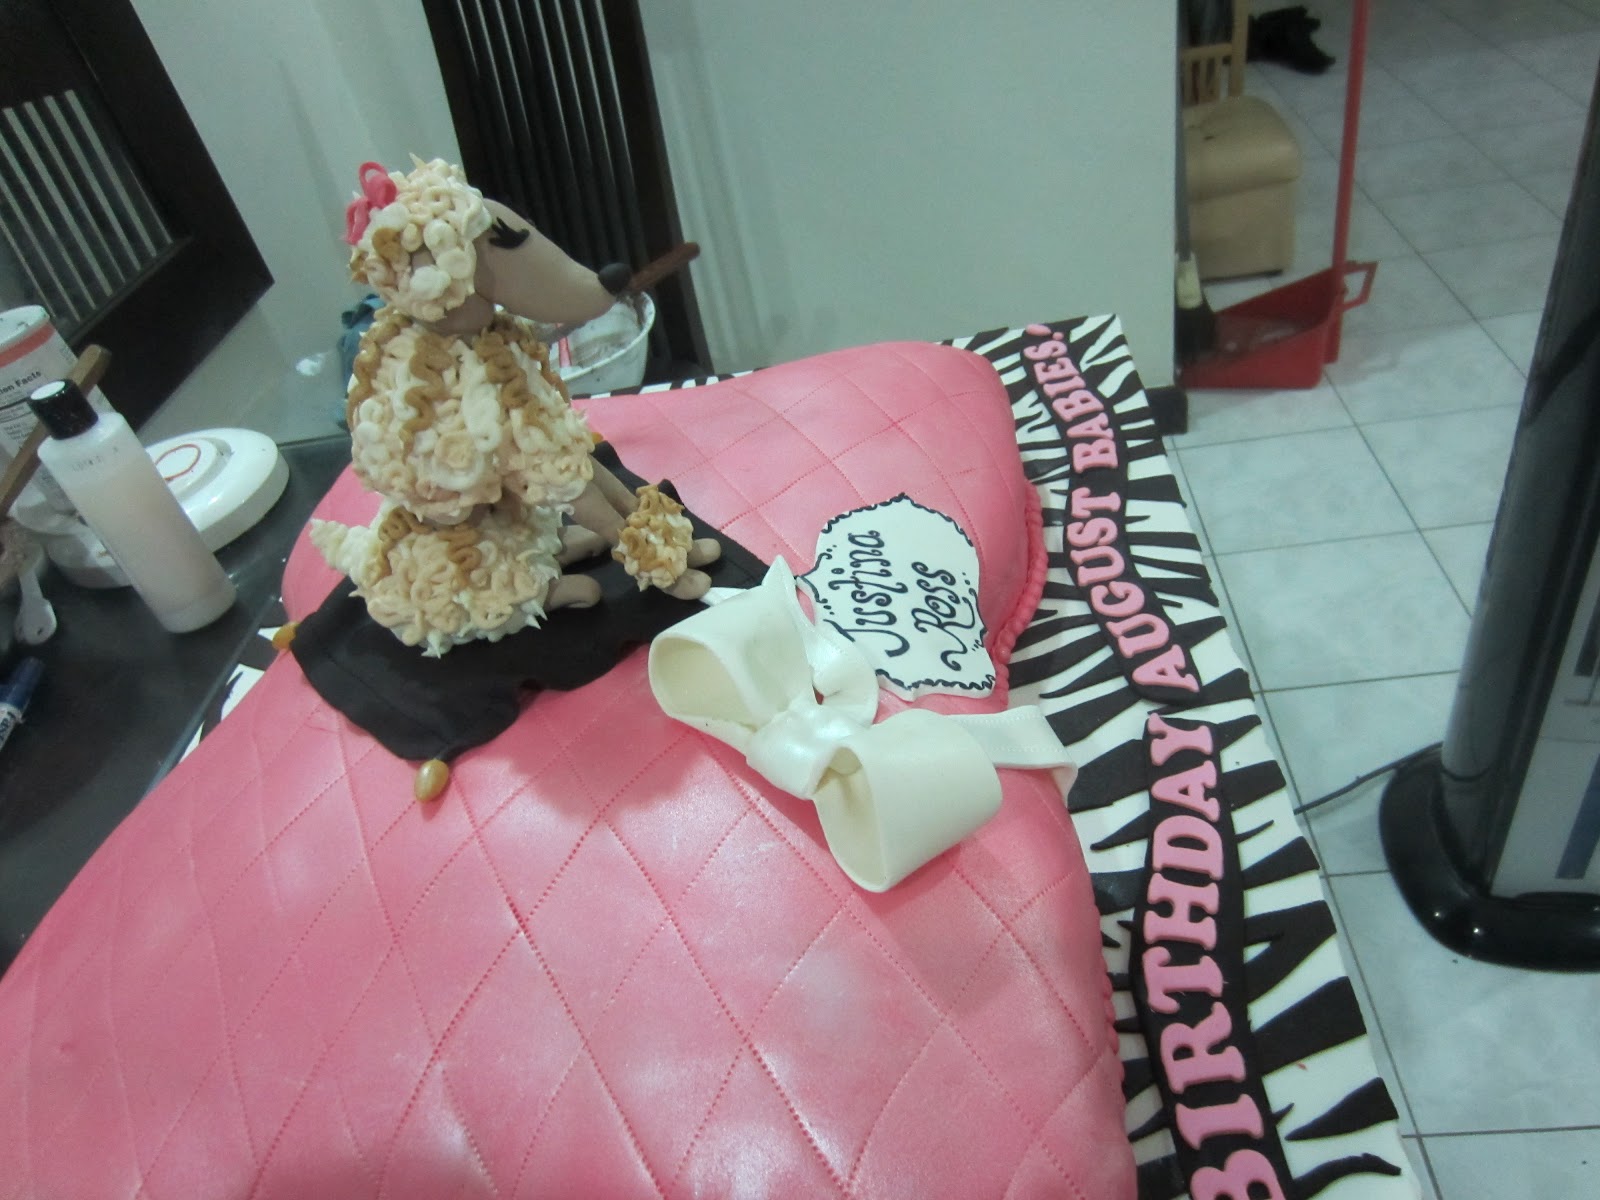

I don't have the pics here but I also made a bow days in advance. I stuck it on the cake along with the name plaque and then added a black rug for the pretty poodle to sit on.

So there you have it a POODLE ON A PILLOW cake. What a journey making this cake and I hope the girlfriend and all those at the kids home loved it. Till the next challenge..adios!


