PRE-ORDER ONLINE STORE NOW OPEN!!

It's finally here! Our Home May'de Cakes Pre-order Online store.
Please click here to look at our cake decorating tools --->PRE-ORDER ONLINE STORE or click the button above. More items will be added from time to time so keep checking always or be a follower on our blog. To order, just send the list of items you want to homemaydecakes@gmail.com and we'll get right back to you with the quotation. All items are not inclusive of postage within Malaysia.
Happy Shopping!!

Tare Panda and Antique Suitcase farewell cake and Lemon cupcakes


 One of the cakes in this post is about an order by a customer ..a customized cartoon character the TARE PANDA..which literally means lazy panda. The challenging part was making this in fresh cream as I had to keep putting the cake in the fridge while decorating. The vividness of colours was created using a mix of fresh cream, colour paste and piping jelly. The piping jelly was really useful in stabilising the fresh cream so it would not melt easily.I used the piping gel transfer I learned from my Wilton method classes to recreate the character on the cake. The cake itself was the chocolate truffle recipe that I always use...the only down side is that once put in the fridge it got a little hard. I usually like to leave my cakes out but I had no choice because of  the fresh cream.
 I thought it was kinda cute after piping out the birthday message...:)
 I then added some cute flower accents on the sides too.

 Another cake I did was a last minute one actually.. I just decided to bake a coffee cake in the shape of a suitcase for a friend who was leaving soon. Its was simple and nothing fancy but was fun to make. The effect was an aging suitcase with the words Bon Voyage on it.. It was decorated mostly with buttercream with some fondant on it. It wasn't the most elegant cake but I thought it suited a guy's taste. Rustic perhaps?

 I did some shell borders on the bottom too.
The handle was propped up with a beer can candle and then I added some star cut outs too. Here is the recipe for those who wanna try it out coffee cake recipe. It's a good recipe for those who does not like their cakes too sweet.

 Next up are these wonderful lemon cupcakes..I took the recipe from here Lemon Cupcake Recipe.

 I followed the recipe to the T and they turned out beautifully.
 I decorated them using my premade royal icing flowers and swirled on the buttercream using my 1M tip. I then packed them all in cupcake boxes ready to be brought back to KK for my family during my recent vacation.
 Lastly a close up of these lemony beauties....yummmm.....

The making : Aurora's Rainbow Cake

This is the cake that I made for my daughter's first birthday. Her birthday theme was a colourful one because that's all a one year old can really understand and enjoy right? The cake was a simple and cute design with a delightful surprise inside!

I took the recipe from Sweetapolita Rainbow Doodle cake and once mixed I divided the batch into 6 bowls to get the same amount in each layer.I didn't quite understand why the recipe only called for 6 colours. Aren't rainbows supposed to have 7 colours? Oh well...


This is how the batch looked like after colouring it with food gel paste..recipe called for gel colouring in order to guarantee a bright tint on the cake with minimum addition of colouring. The use of liquid colouring would not produce the same effect.

Now, the challenging part.The Lemon Swiss Meringue buttercream. I was a bit hesitant at first because it was my first time making it and from what I read there was a possibilty that it might fail. In this pic I had reached the curdled stage and was sweating profusely even with a hand mixer.I didn't want to use a stand mixer just in case I over did it. Fortunately I presevered and ...
it actually came about quite well! Tasted light, fluffy and silky smooth and most importantly LESS sweet. Just how I like it.
I then layered on the cake one on top of the other and smothered it with that beautiful lemon swiss meringue buttercream.
This is how it looked like fully frosted.
Ok this is another thing I did for her birthday..sugar cookies with royal icing..here I am flooding the cookies with royal icing.


This is how they looked like after I wrote on each one with edible marker pens.Cute eh?
Anyway back to the cake..I then covered the cake with fondant and smoothed it over.
My daughter loves animals and particularly kitties so I made this fondant figurine especially for her.
A multicoloured cat!


I cut out the wordings out of fondant and added some side accents..little cute flowers and a twisted string border..poked in a candle and I was done! I can tell you it was a lot of work despite the simplicity!


Time to cut the cake! I got a lot of oohs and ahhs at this point. I think the colours bring out the kid in everyone. Perhaps some might think all that colouring must not be good for ya..I say..hey..it's a birthday party and you don't get to eat this often..live a little! :D By the way, it tasted heavenly!
 Even my daughter enjoyed it and that's all that matters :) 

The making of : Chelsea Soccer cake

Today I'm gonna write about the soccer cake I made for my friend Jeff's birthday.I was commisioned by girlfriend Yoyie to bake and decorate a cake that depicted his favourite team The Chelsea Football Club.
The chocolate guinness cake was baked and crumbcoated and then soccer part covered with fondant. I used the Wilton soccer pan to bake the cake.
This is how I traced the logo. I used the pin method in which I meticulously poked the fondant with a small pin through the logo that I copied.
This is how the fondant template looked like after poking.
Then comes my favourite part. The painting. I mixed the gel paste colours with a little bit of clear vanilla essence and painted on the colours unto the fondant.
I realised the blue was a bit dark so I lightened it with some white color to create a lighter blue.
I finished off the shading and the finer details
I added some buttercream grass and the football field look was coming to life!
I painted on the birthday boy's name and age on a cute blue shirt I cut out on fondant..hehe

Tadaaa!!! Chelsea soccer cake done and ready to serve! Hope you enjoyed this. If you wanna see more, you can read about the rainbow cake I made for my daughter's first birthday in my next post!


Wilton Cake Decorating Course 3 : Gum Paste and Fondant Class 3 and Completion!

 Hello again! Well I finally have a bit of time to post about my final two classes on this Wilton cake decorating journey and this is my graduation cake. Truly the pinkest cake I've ever decorated!
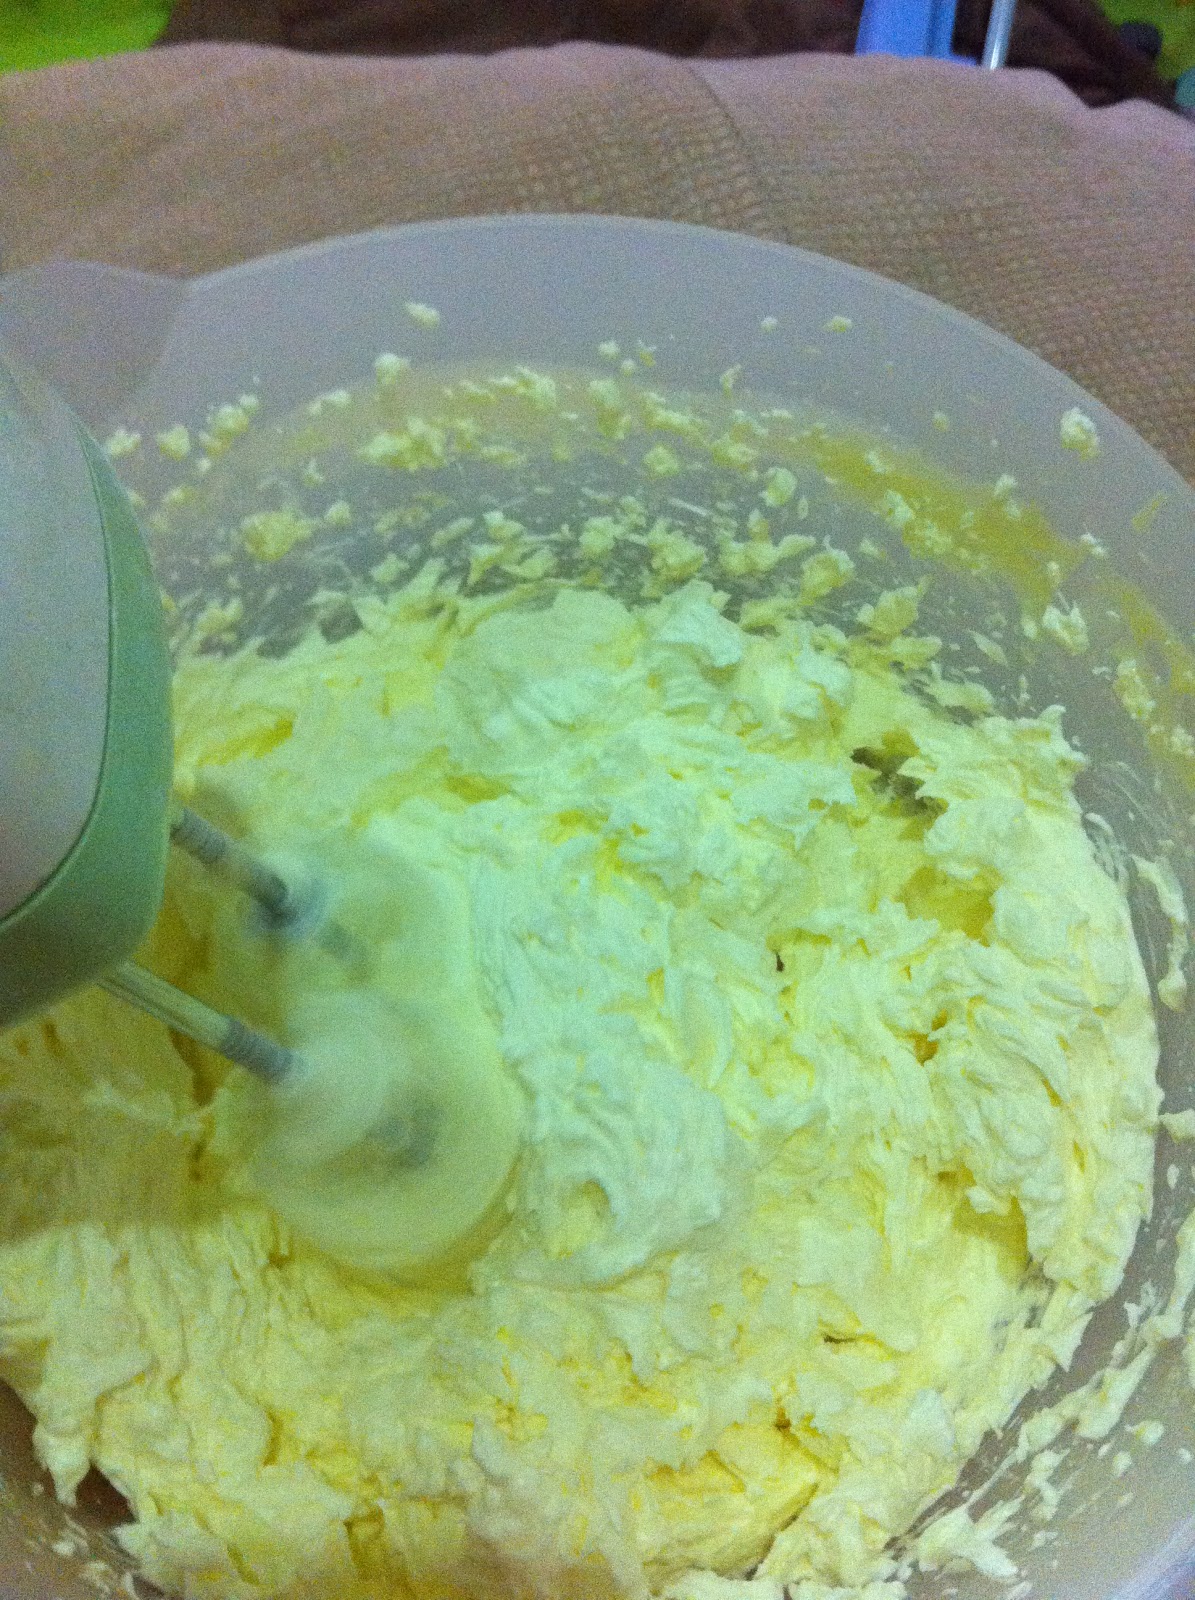
 In these last two sessions we learned so many things, like how to cover the board with fondant...
Aaaanddd....How to cover the CAKE with fondant..
 Look at all my hardworking fellow course mates kneading away...my neighbour Sabrina refuses to look at the camera cos she's so into her kneading...lol! Some say it's good exercise for the arms..some even say can 'enhance' their 'bosoms' shall we say...haha!
As I said in my previous post, the bows that I had already assembled got all floppy and some of the loops broke so I had to make a new one.Me likey the polkadots on the new one :)
Aaand this is how it looked like once put on the cake.. 
 This is just a showcase of the gum paste flowers that we learned in this course. The daisy, roses, mums or chrysanthemums, carnation and the calla lily. Pretty ain't it?
We also learned many types of borders. Ball borders, ruffles and plenty of other techniques such as inlays and outlays as shown on these other beautiful masterpieces by my coursemates.

 I'd say they are such a creative bunch of people!
 A nice pic of me receiving my final cert from our lovely and patient instructor Ms. Angeline Stanley.
 A slightly tired looking me holding up my cake proudly!
 Sigh..it looked even nicer when airbrushed with some pearl shimmer..I have to invest in one of those one day..awesome stuff!

I didn't actually take a group photo but this was the one taken by Angeline. I'm actually going to miss all the fun and laughter from this group.Truly a wonderful memory that I can share with my kids one day. It's only just the beginning but at least it's a start. Actually there are plenty more to learn and I hope I can share more of my journey as I intend to go and learn different techniques perhaps from individuals who are experienced in cake decorating. As for now, I am content and happily taking orders. This will give me the chance to hone my skills and gain more experience first before moving up to the next level. All in all, besides sewing (which I still love!) cake decorating gave me an outlet to show my creative side and eat my cake too! Next post? The making of my Chelsea soccer cake and my daughter's one year old rainbow birthday cake!..coming soon!